Category Archives: crafts

crafts

Creative Scarecrow Ideas for Halloween Decorating

Creative scarecrows can spice up fall decorations. Many neighborhoods hold scarecrow decorating contests. My sister and I have worked together to enter a few of these and have been lucky enough to win grand prize a couple of times. Our best tip? Use old clothes to come up with a scarecrow theme, then pay attention to detail to make a whole scene.

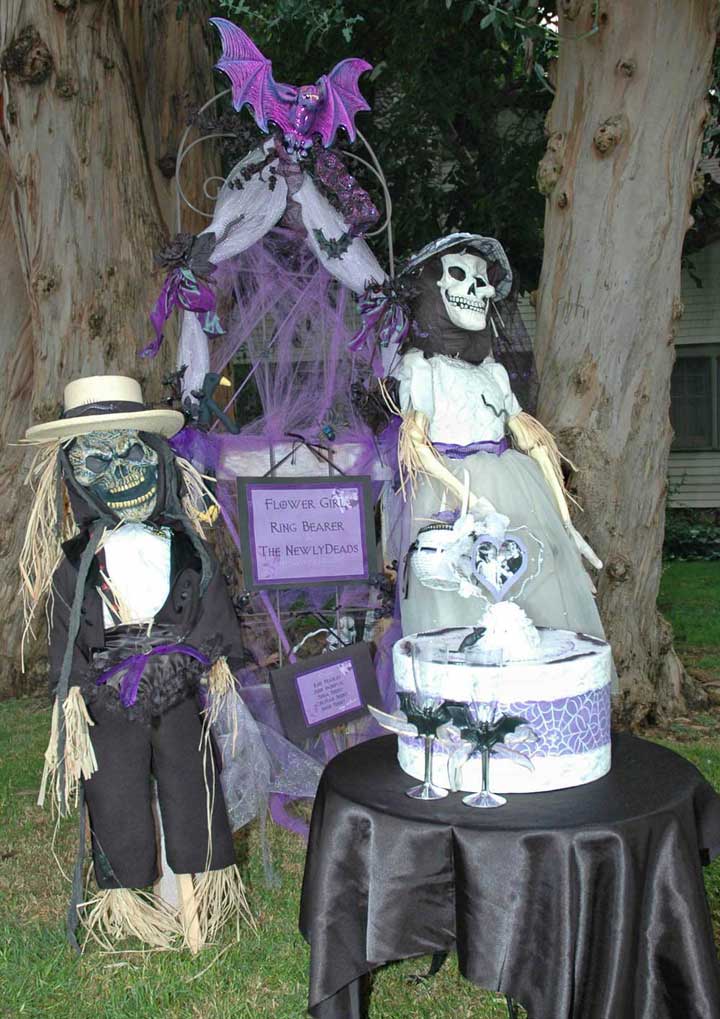
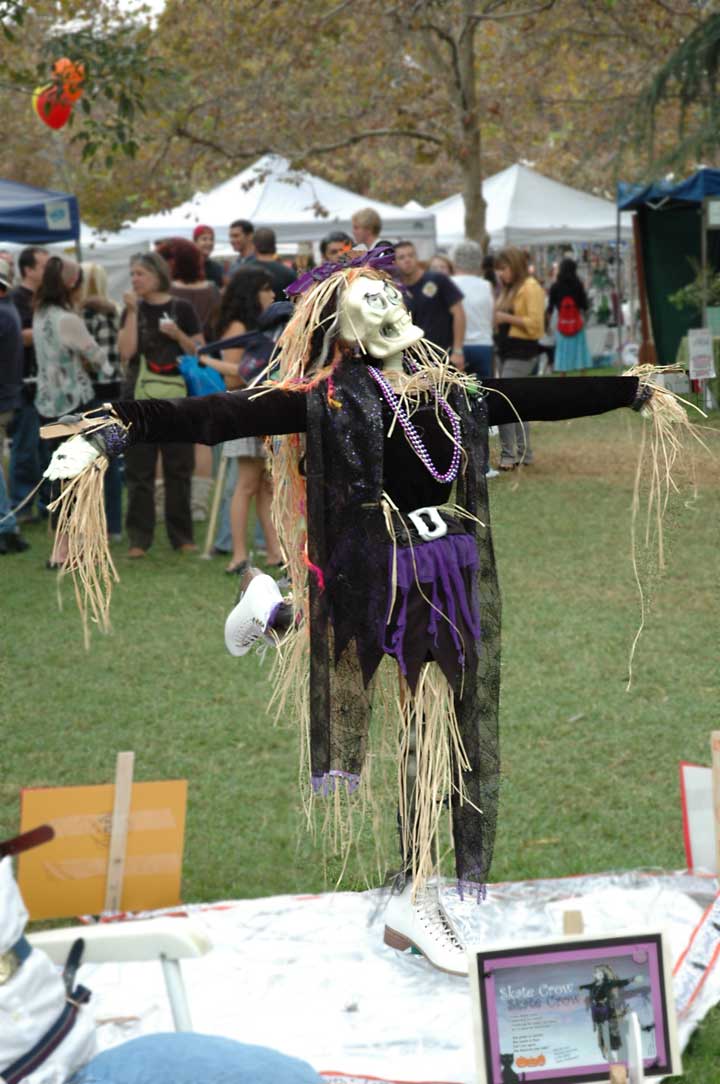
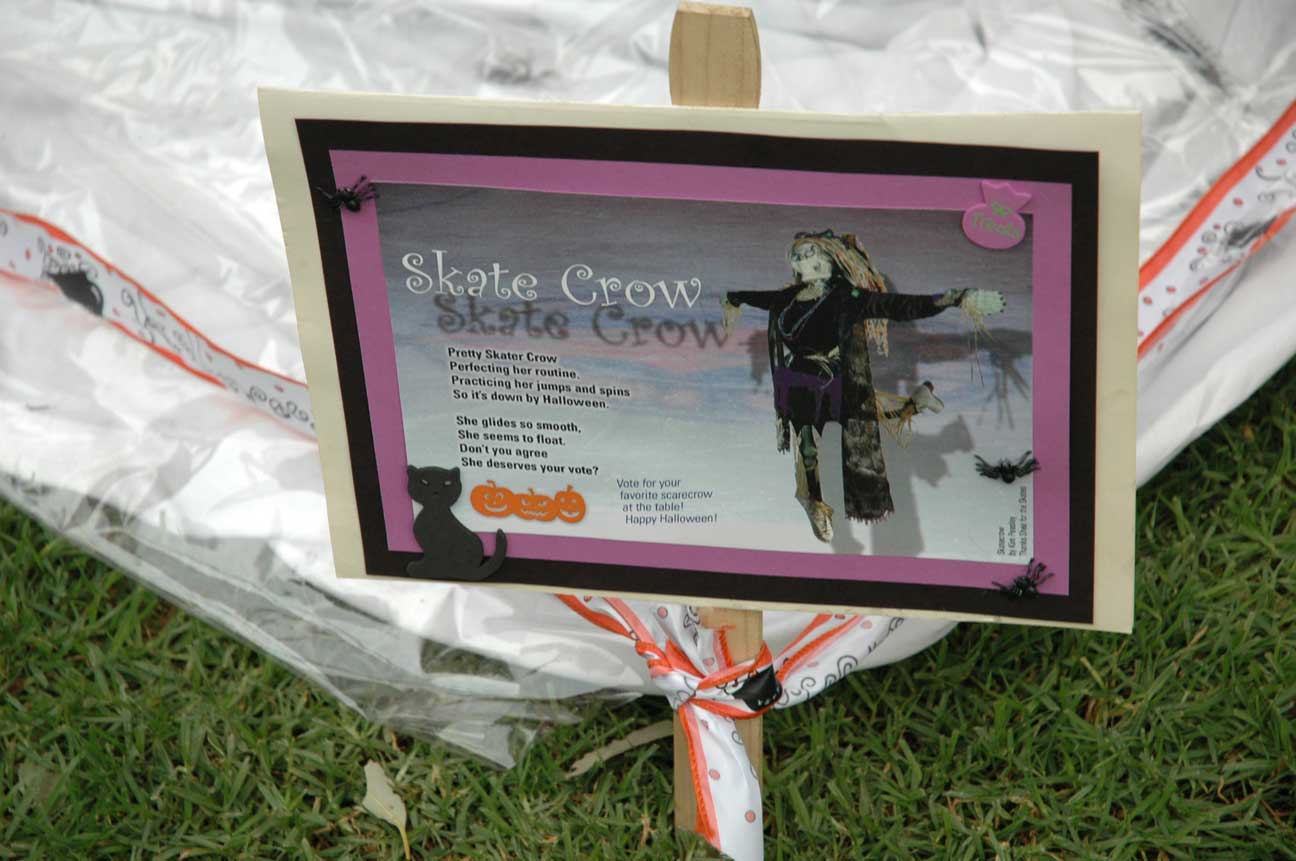
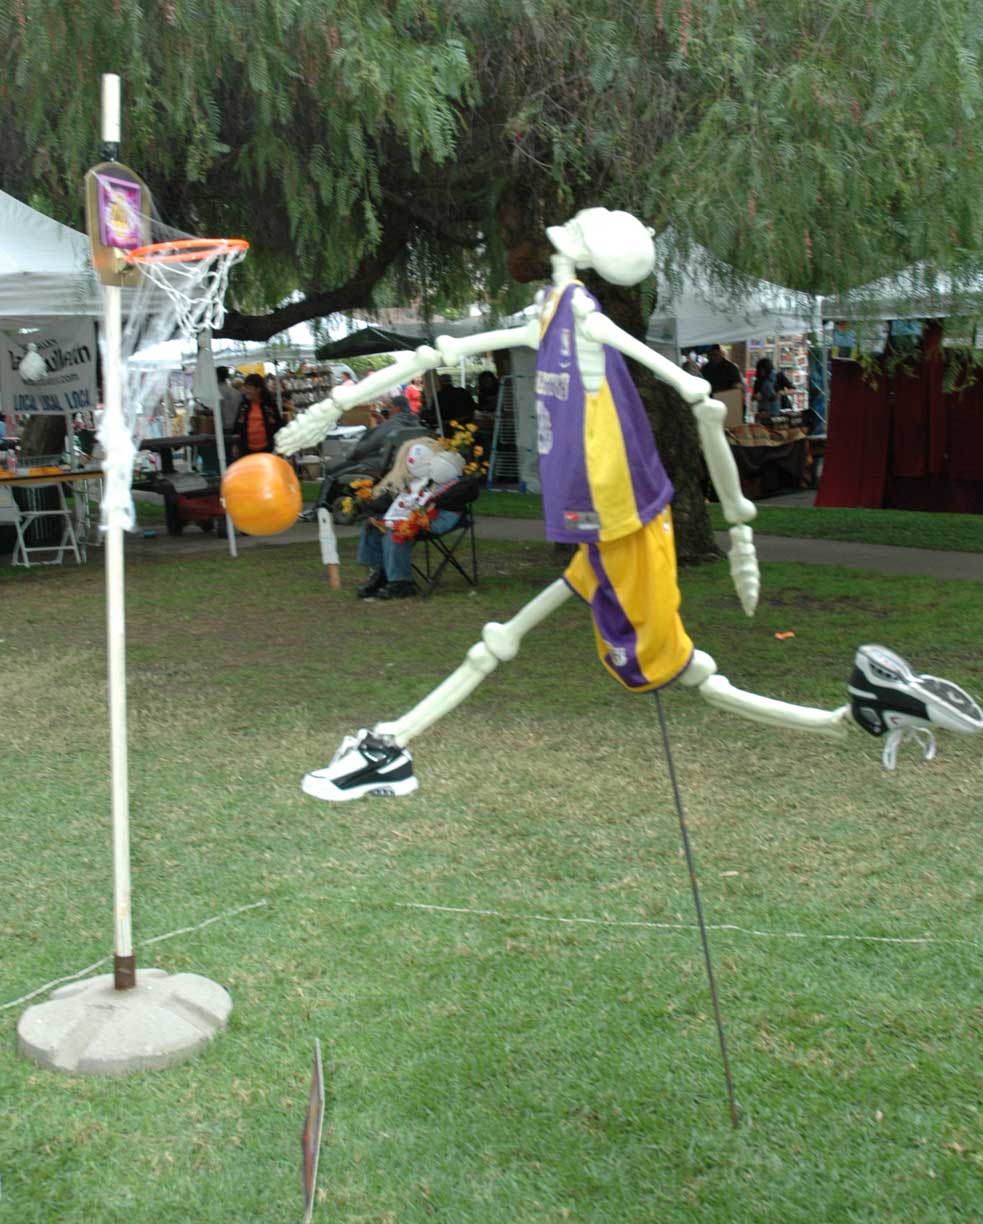
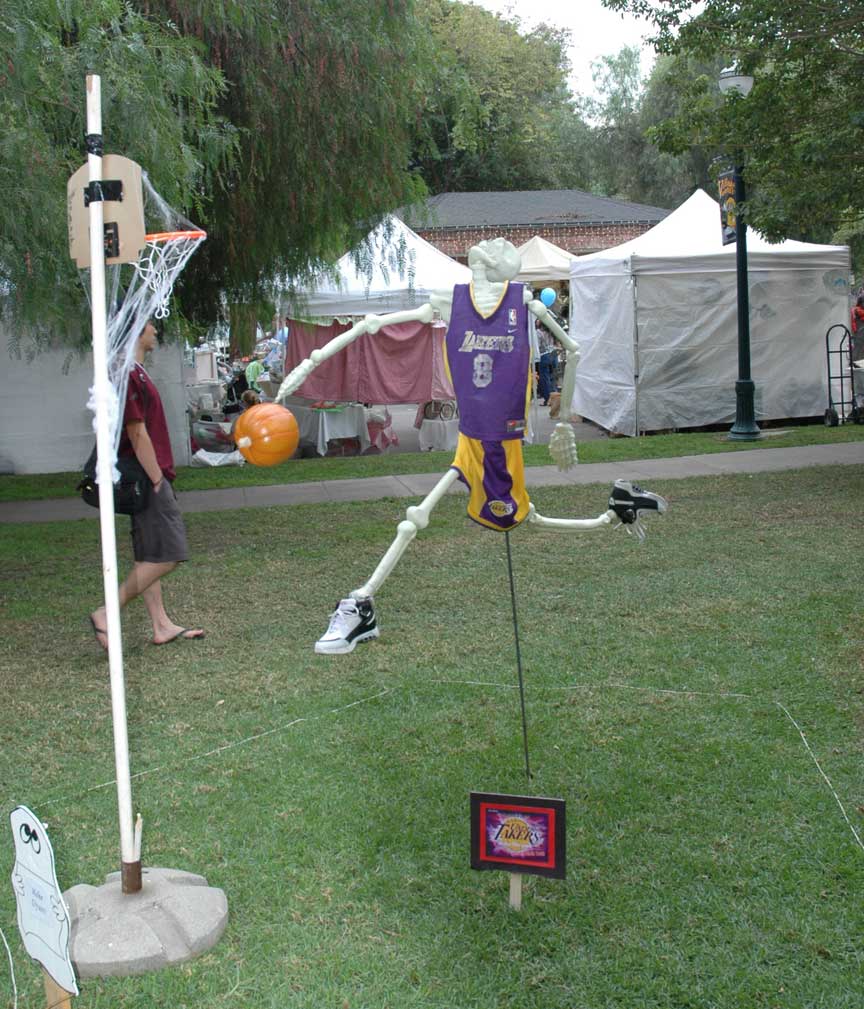
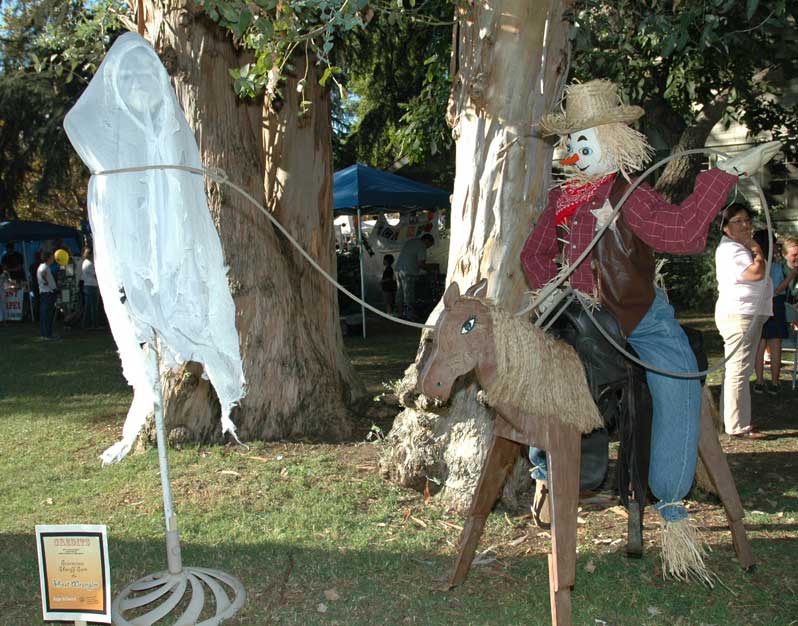
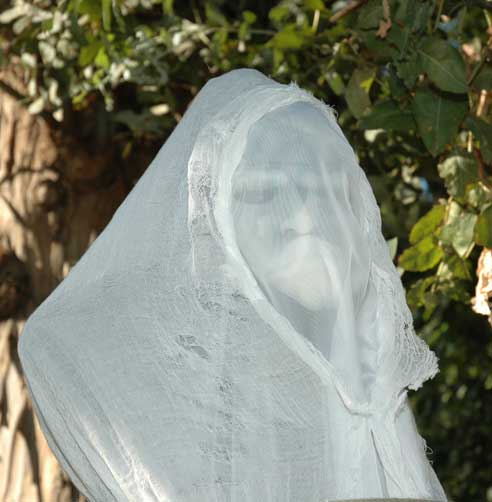
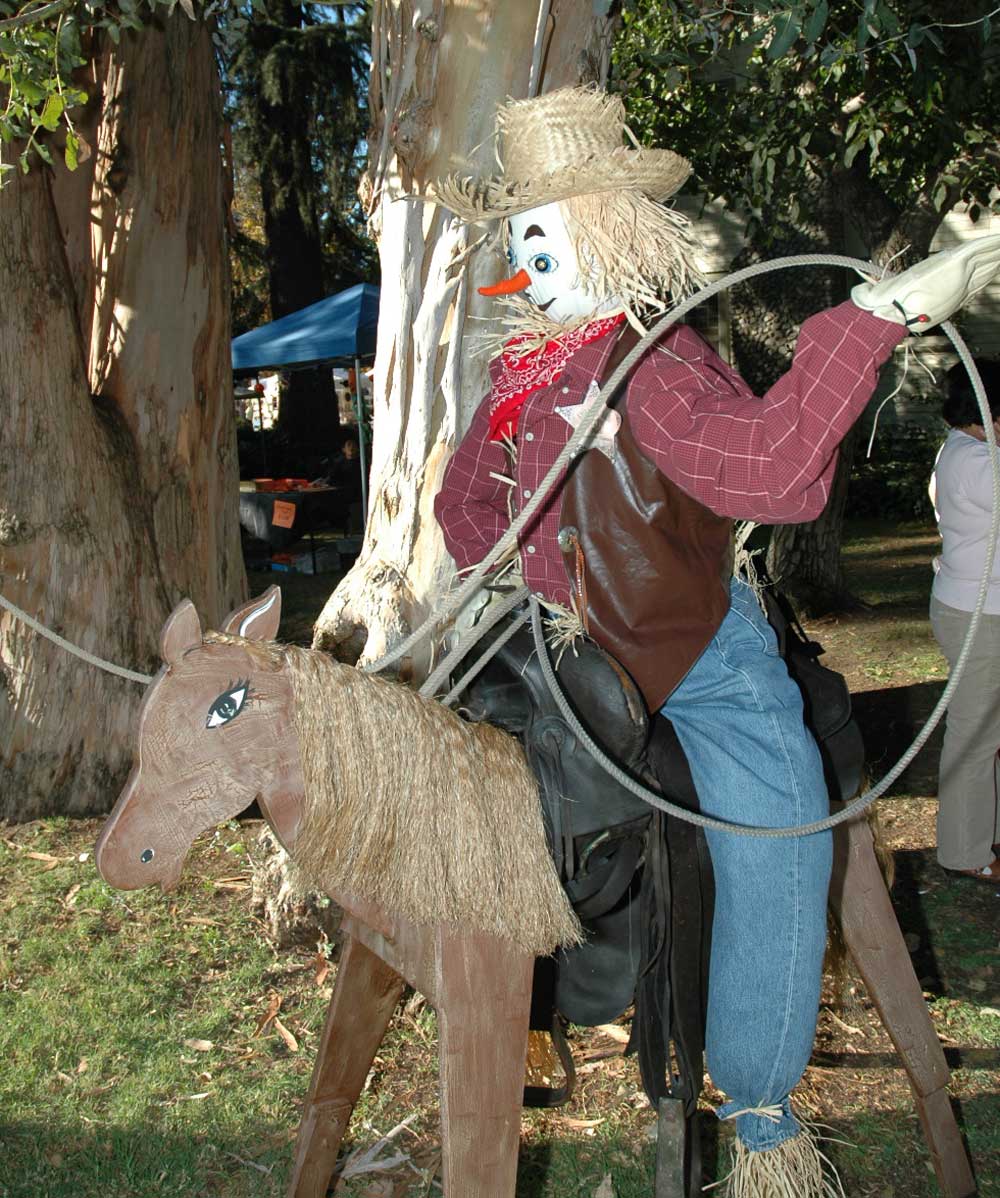
I used my daughter’s old flower girl dress, for example, to come up with a scene depicting “The Ring Bearer and Flower Girl at Frankenstein’s Wedding. I used her old figure skates to come up with “Skate Crow.” I used my son’s old Kobe Bryant jersey and old basketball shoes to come up with a scarecrow shooting hoops . . . (Kobe Die-ant of the LA  UnderTakers.) An old saddle gave me the inspiration to come up with “Ghost Rustler,” a cowboy lassoing a ghost.

Next up: I want to do a hula girl in a bikini to make a beach scene. Got you thinking? What clothes do you have that be used for a creative scarecrow scene this Halloween?

Make your scarecrows pop at night with a blacklight.

I hope my pics inspire you. Let me know if you have other creative scarecrow decoration ideas for Halloween.

Related Post: How to Make A Prize-Winning Scarecrow

Frankensteinflowel25web

scarecrowskaterweb

scarecrowsign

kobscarecrowweb

kboecrow2

Pet Clothing

kobesign

[ad#Google Adsense]

cowboyscarecrow

ghost

cowboyrope

Please share your creative ideas for cool scarecrows.

view my squidoo lens on Halloween scarecrows.


Other craft posts:
How to Make a Yoga Mat Tote Bag
How to Make a Tassel
How to Make Bookmarks from a Photo
How to Make Designer Baby Burp Cloths Using Ribbon

How to Make a Yoga Tote Bag

Sew a Bag to Keep Your Yoga Bag Clean
yogabagsheweba


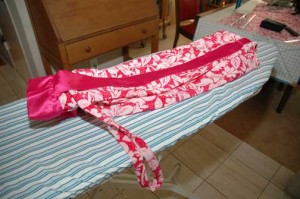
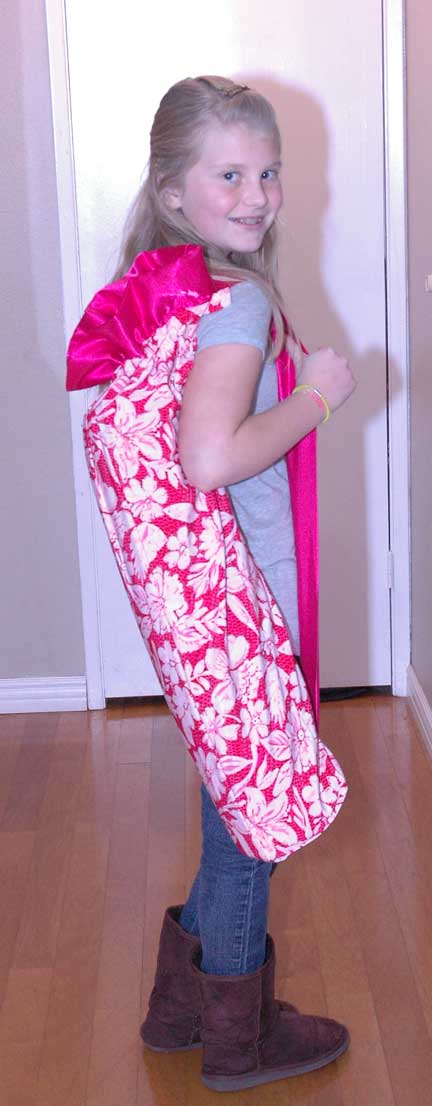
When I first started yoga I had a yoga mat I could roll up and toss in the car. Then I got a new yoga mat which was plusher and prettier . . .  But I noticed that the better material picks up dirt easier. So I decided to sew a custom yoga mat bag for it to keep it clean in the car.

Looking online I saw a few patterns. Some had three seams to make a big bag, but that seemed too basic.  Some were shaped more like a roll with a round bottom, but I am not a big fan of sewing on a curve if I don’t have to.  So I came up with my own design. The design is similar to the square-bottom shopping totes that a lot of crafters make.

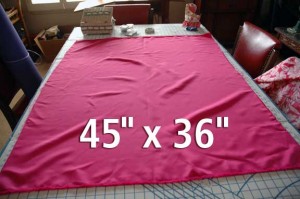
It is pretty easy and you can adjust it. The instructions are for a lined yoga mat bag, but if you used thicker material you would not have to line it. To make the bag just line mine, you will need material 45 inches by 36 inches for the lining and 45 by 40 for the bag fabric plus matching thread.
yogamat1web

yogamat2

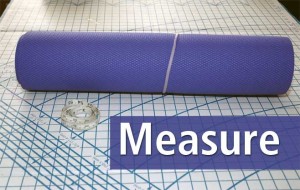
1. Measure. Roll up your yoga mat and measure how big you need to make your bag.  My mat is pretty standard and I started with material 45 inches by 36 inches for the lining and 45 by 40 for the bag fabric.  You may need to adjust if your mat is not standard.
yogamat3

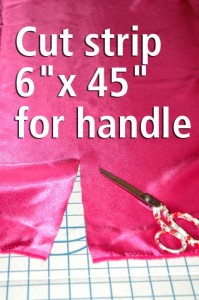
2. Cut material for handle. Cut a strip 45 inches by 6 inches.
yogamat4

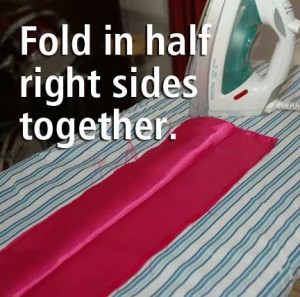
3. Fold the handle in half, right sides together and iron to get it even.
yogamat5

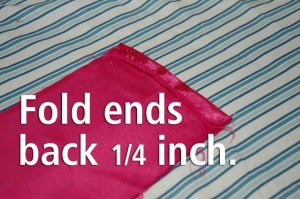
4. Fold 1/4 inch on the ends and iron.
yogamat6

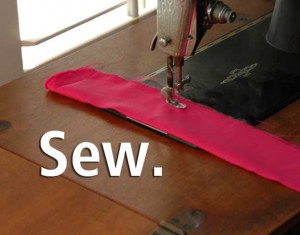
5. Stitch the handle the long way.

yogamat7

yogamat8

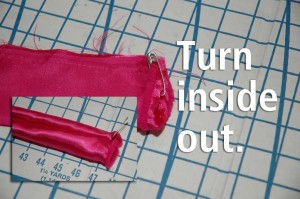
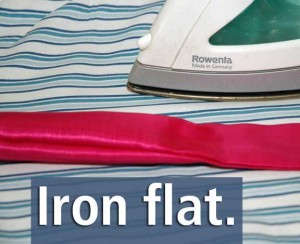
6. Flip the handle inside out by attaching a safety pin to one end and pushing the material up the tube.  Then iron.
yogamat9

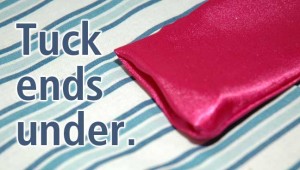
7. Tuck the ends of handle inside. Set aside.

8. Make the tie and the drawstring.  Use the same steps you just used to make the handle.  The tie is the same 6 x 45 inch as the handle, only cut from the bag fabric.    The drawstring is 4 x 45 inches and cut from the extra bag fabric.  Set aside.
yogamat10

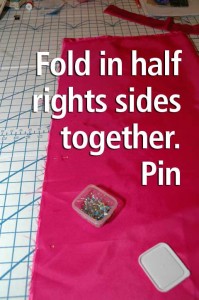
8. Fold the large piece of material for the lining of the bag right sides together, pin.
yogamat11

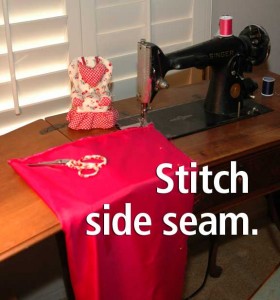
9. Stitch seam on side of yoga bag lining.
yogamat12

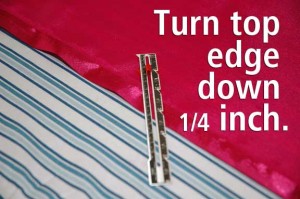
10. Fold down and iron 1/4 inch on the top edge.
yogamatbottom


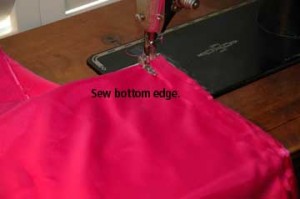
11. Sew the bottom edge.

yoga13

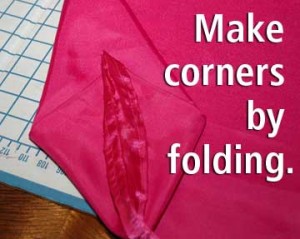
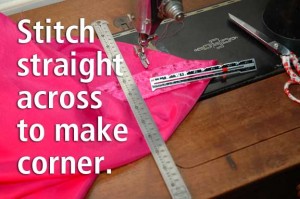
12. Make corner gussets by reaching your hand in one corner of the bag and flattening it in the opposite direction. Now fold it so you form a triangle. You are going to sew across the triangle to create the corner.  Making a corner gusset is not hard to do, but is a bit hard to explain.  Another blogger has a good description of making a corner gusset if you need more help visualizing it.
yogamat14

11.  Sew across to form the corner.

yogamatedges

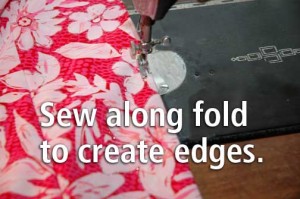
12. Repeat above steps to make the bag itself. On the outer bag you can make “edges” by sewing along the fold lines.  This makes the bag appear as if it has four side seams and makes it boxier.
yogamat18

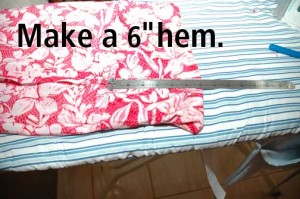
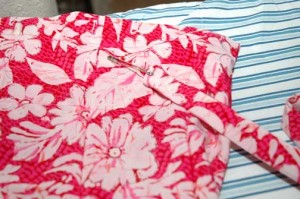
13. Make a deep hem on top of bag to form casing. Set aside the lining and now work on the bag itself. To determine the depth of the hem you want, first roll up the yoga mat, and put it inside the bag to measure, then remove. You are going to want about 10 inches of material above the bag after the hem.  My deep hem was about 6 inches. So I stitched about 6 inches down to sew down the edge, then stitched again about 1.5 inches up from that.  This forms the casing for the drawstring.
yogamatcasing

14.  Make an opening in the side seam in between these two rows so you can insert the drawstring. The easiest way to insert the drawstring is to put a safety pin on the end and push it through.  Once it is through you can hand sew the ends of the drawstring together if you like so that it is a big loop and can’t fall out.
yogamat16

yogamat20

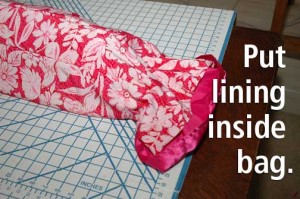
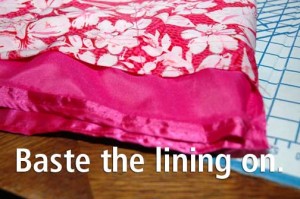
13. Attach the lining. Put the lining inside the bag, wrong sides together, matching the seam at bottom and on edge.  Pull the top on the lining up and over the bag so that when folded down it would form a hems that ends just above where the drawstring casing begins. Pin and then in place baste by hand.
yogamat21

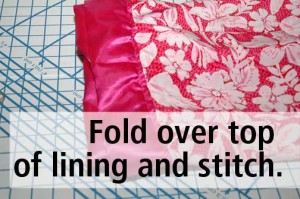
14. Sew down lining at top. Fold over top of lining and stitch in place, but leave a couple inches open at the seam (so you have a place to insert one end of the strap.)
yogamatstrap

yogamatbottomhandle

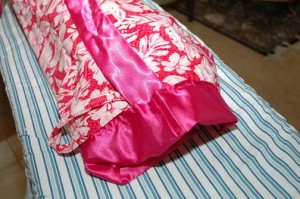
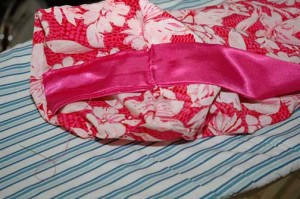
15. Attach strap. One end goes under the contrasting hem on top you just made.  The other end goes at the  bottom of the bag.  I had mine go across the bottom of the bag and I stitched it in two places as shown in picture.

16. Use the tie to secure your rolled up mat.
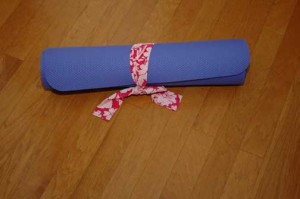
yogamattie

yogamatend

17. Enjoy your new yoga mat bag!

The yoga mat bag would be a great gift for a someone who loves yoga.  Let me know if you find the yoga mat bag tutorial helpful.

Need help choosing a yoga mat? Read my ehow article on how to pick the perfect yoga mat for you.

After yoga, enjoy a pomegranate smoothie. Here’s my recipe.

If you need relaxing yoga music for home, please check out the reviews for the cd “Cave of the Siddhars.” 5 stars from everyone who rated it on Amazon.

Other craft posts:
How to Make a Prize-Winning Scarecrow
How to Make a Tassel
How to Make Bookmarks from a Photo
How to Make Designer Baby Burp Cloths Using Ribbon

How to make a prize-winning scarecrow

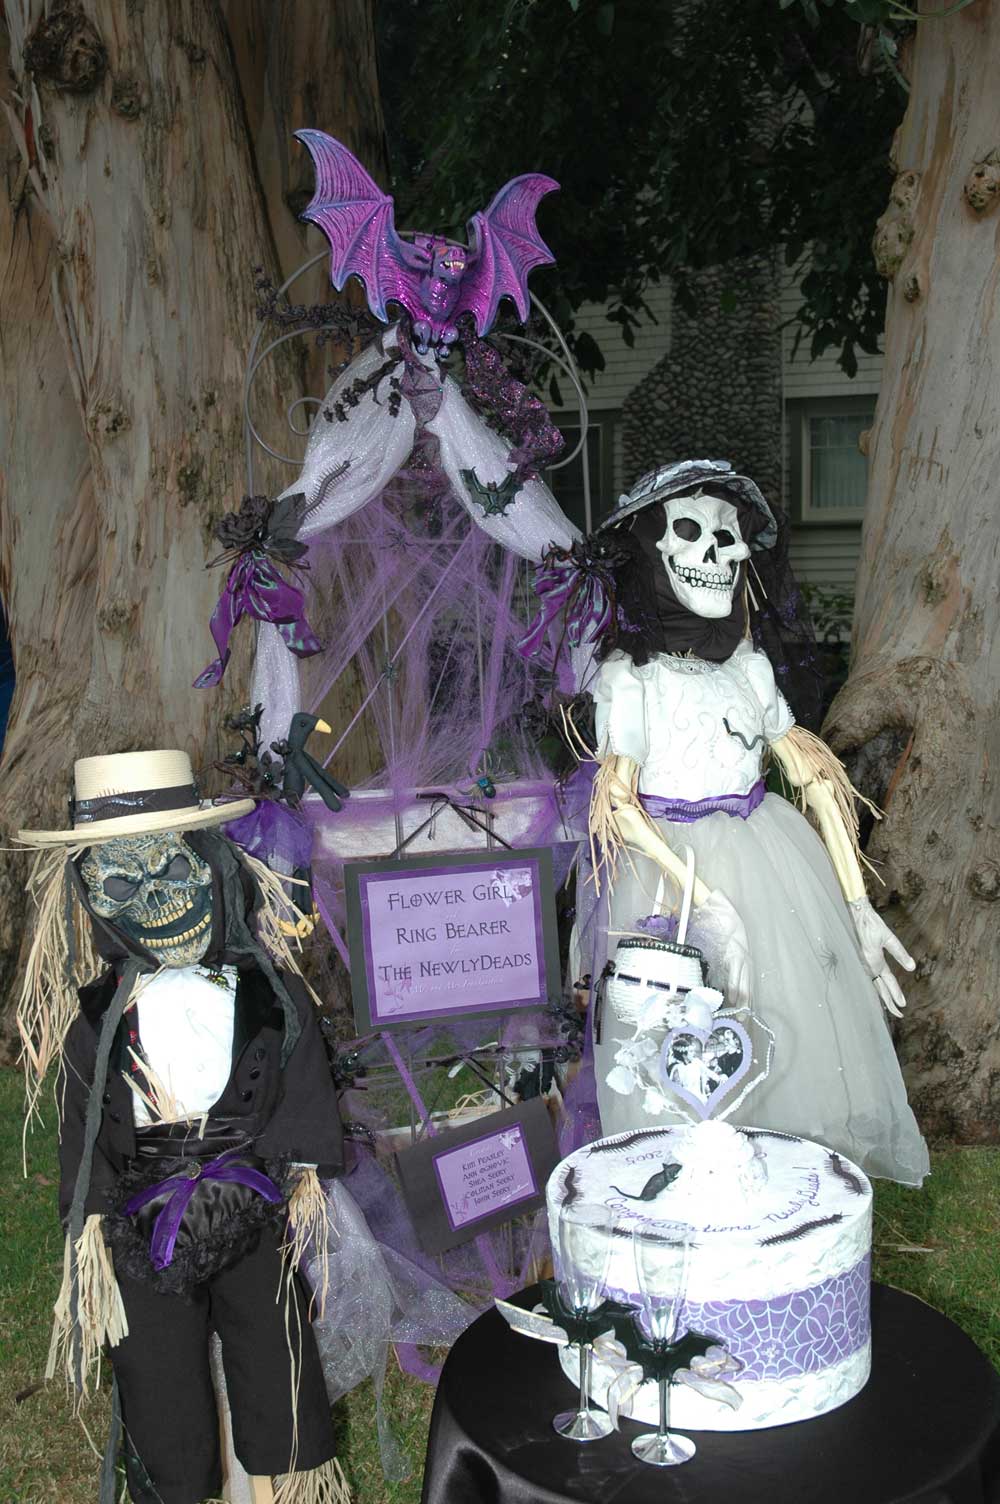
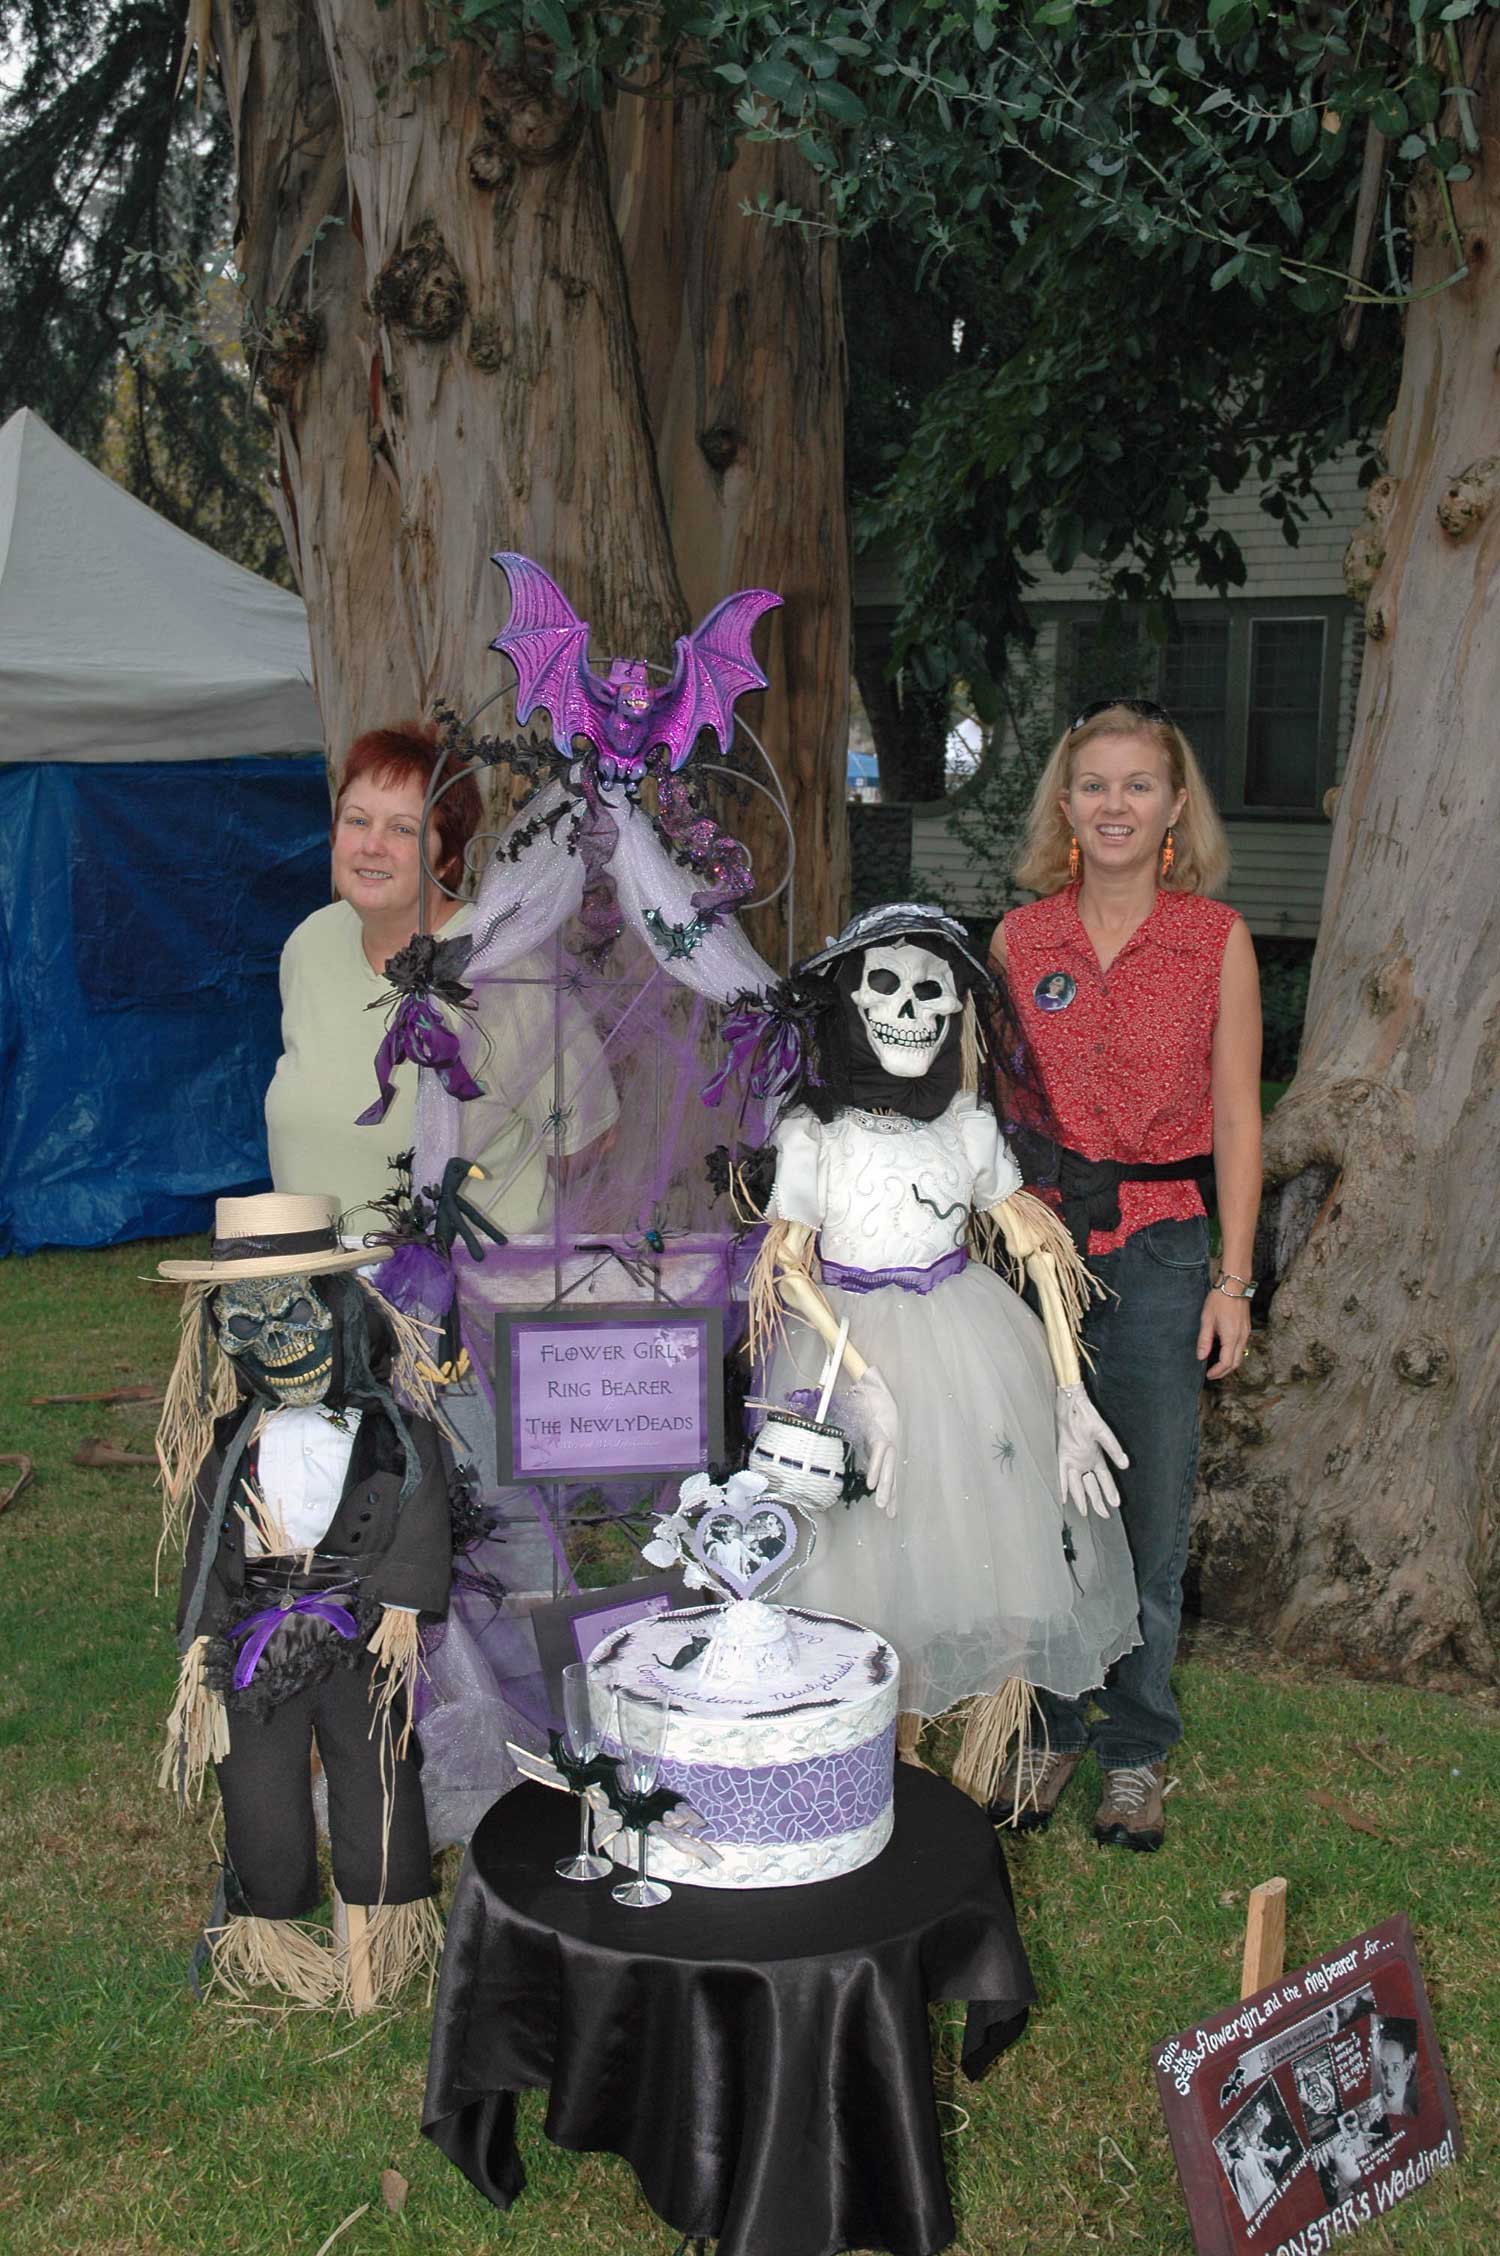
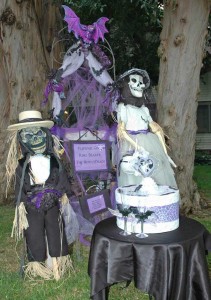
Scarecrows: Flower Girl and Ring Bear for Frakenstein and His Bride.
Our Scarecrows: Flower Girl and Ring Bearer for Frankenstein and His Bride.

A few years ago our local newspaper sponsored a scarecrow contest each Halloween in our city. In 2005 my sister and I decided to enter and we won Grand Prize. Here’s how we did it.

Be sure to look at other scarecrows I’ve made for more inspiration.

Start with a theme: In looking at old dress-up clothes my kids had, I saw I had a beautiful flower girl dress my daughter had worn when she was 3 and a little tux my son had worn when he was 1.

It is  easiest to start with one or two great fashion items you already have.  If you do not have any old clothes you like, then search through a couple thrift stores: you will see lots of ideas: old bikinis; prom dresses, suits, nightgowns, soccer uniforms, scout uniforms.  You should look for items you can build a whole scene around.

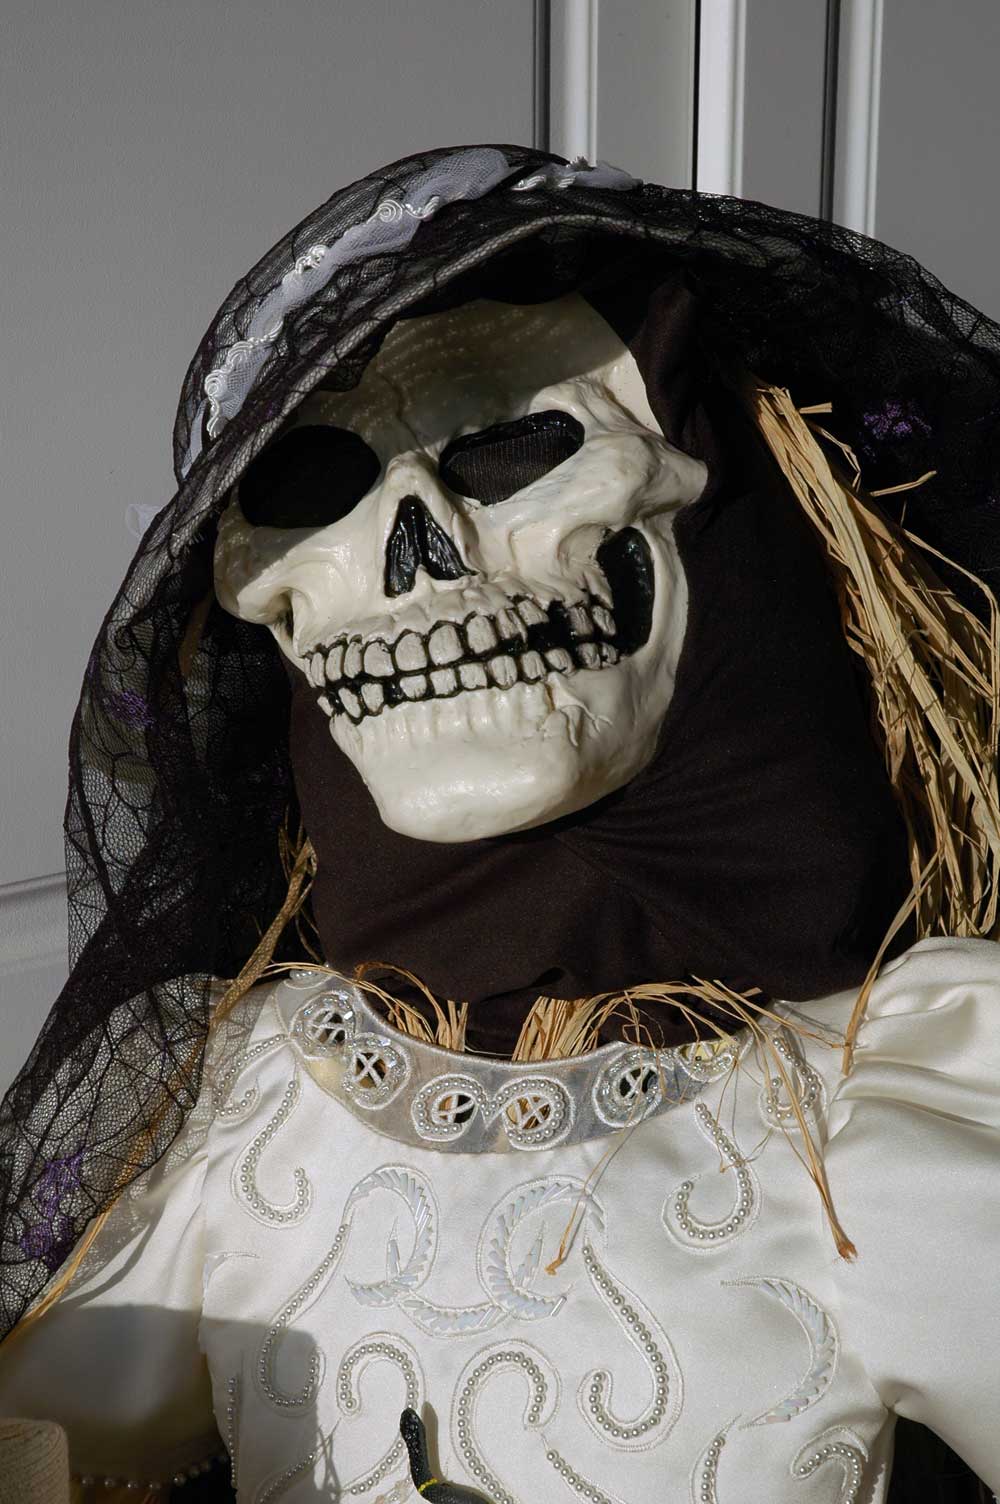
So pretty in her custom gown. Frankenstein's flower girl.

Make your scarecrows: Take an old pillow and tape it to a hanger with duct tape. Then add a sturdy stick or pole. You can stick the pole in an old umbrella stand, a big pot filled with sand or attach to a saw horse. Hang the outfit over the hanger and then add straw, corn stalk or raffia to make the legs and arms. Heads can be scary Halloween masks or skulls you attach to the top of the hanger.


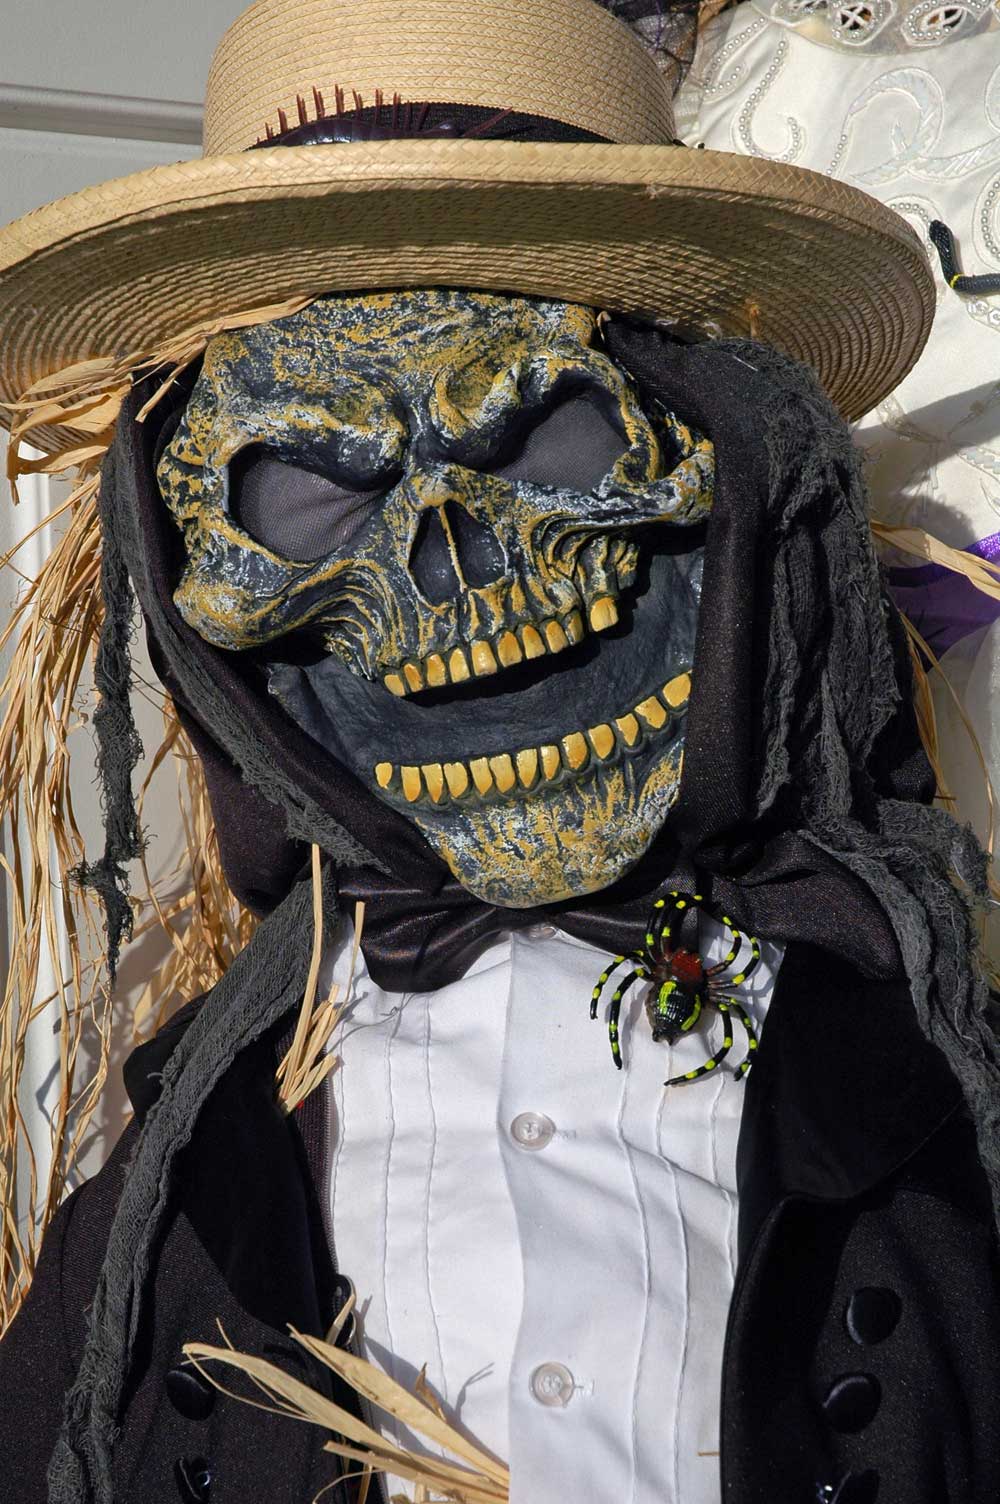
Isn't he handsome in his little tuxedo? Ring bearer for Frankenstein.
So handsome in his tux. The ring bearer.

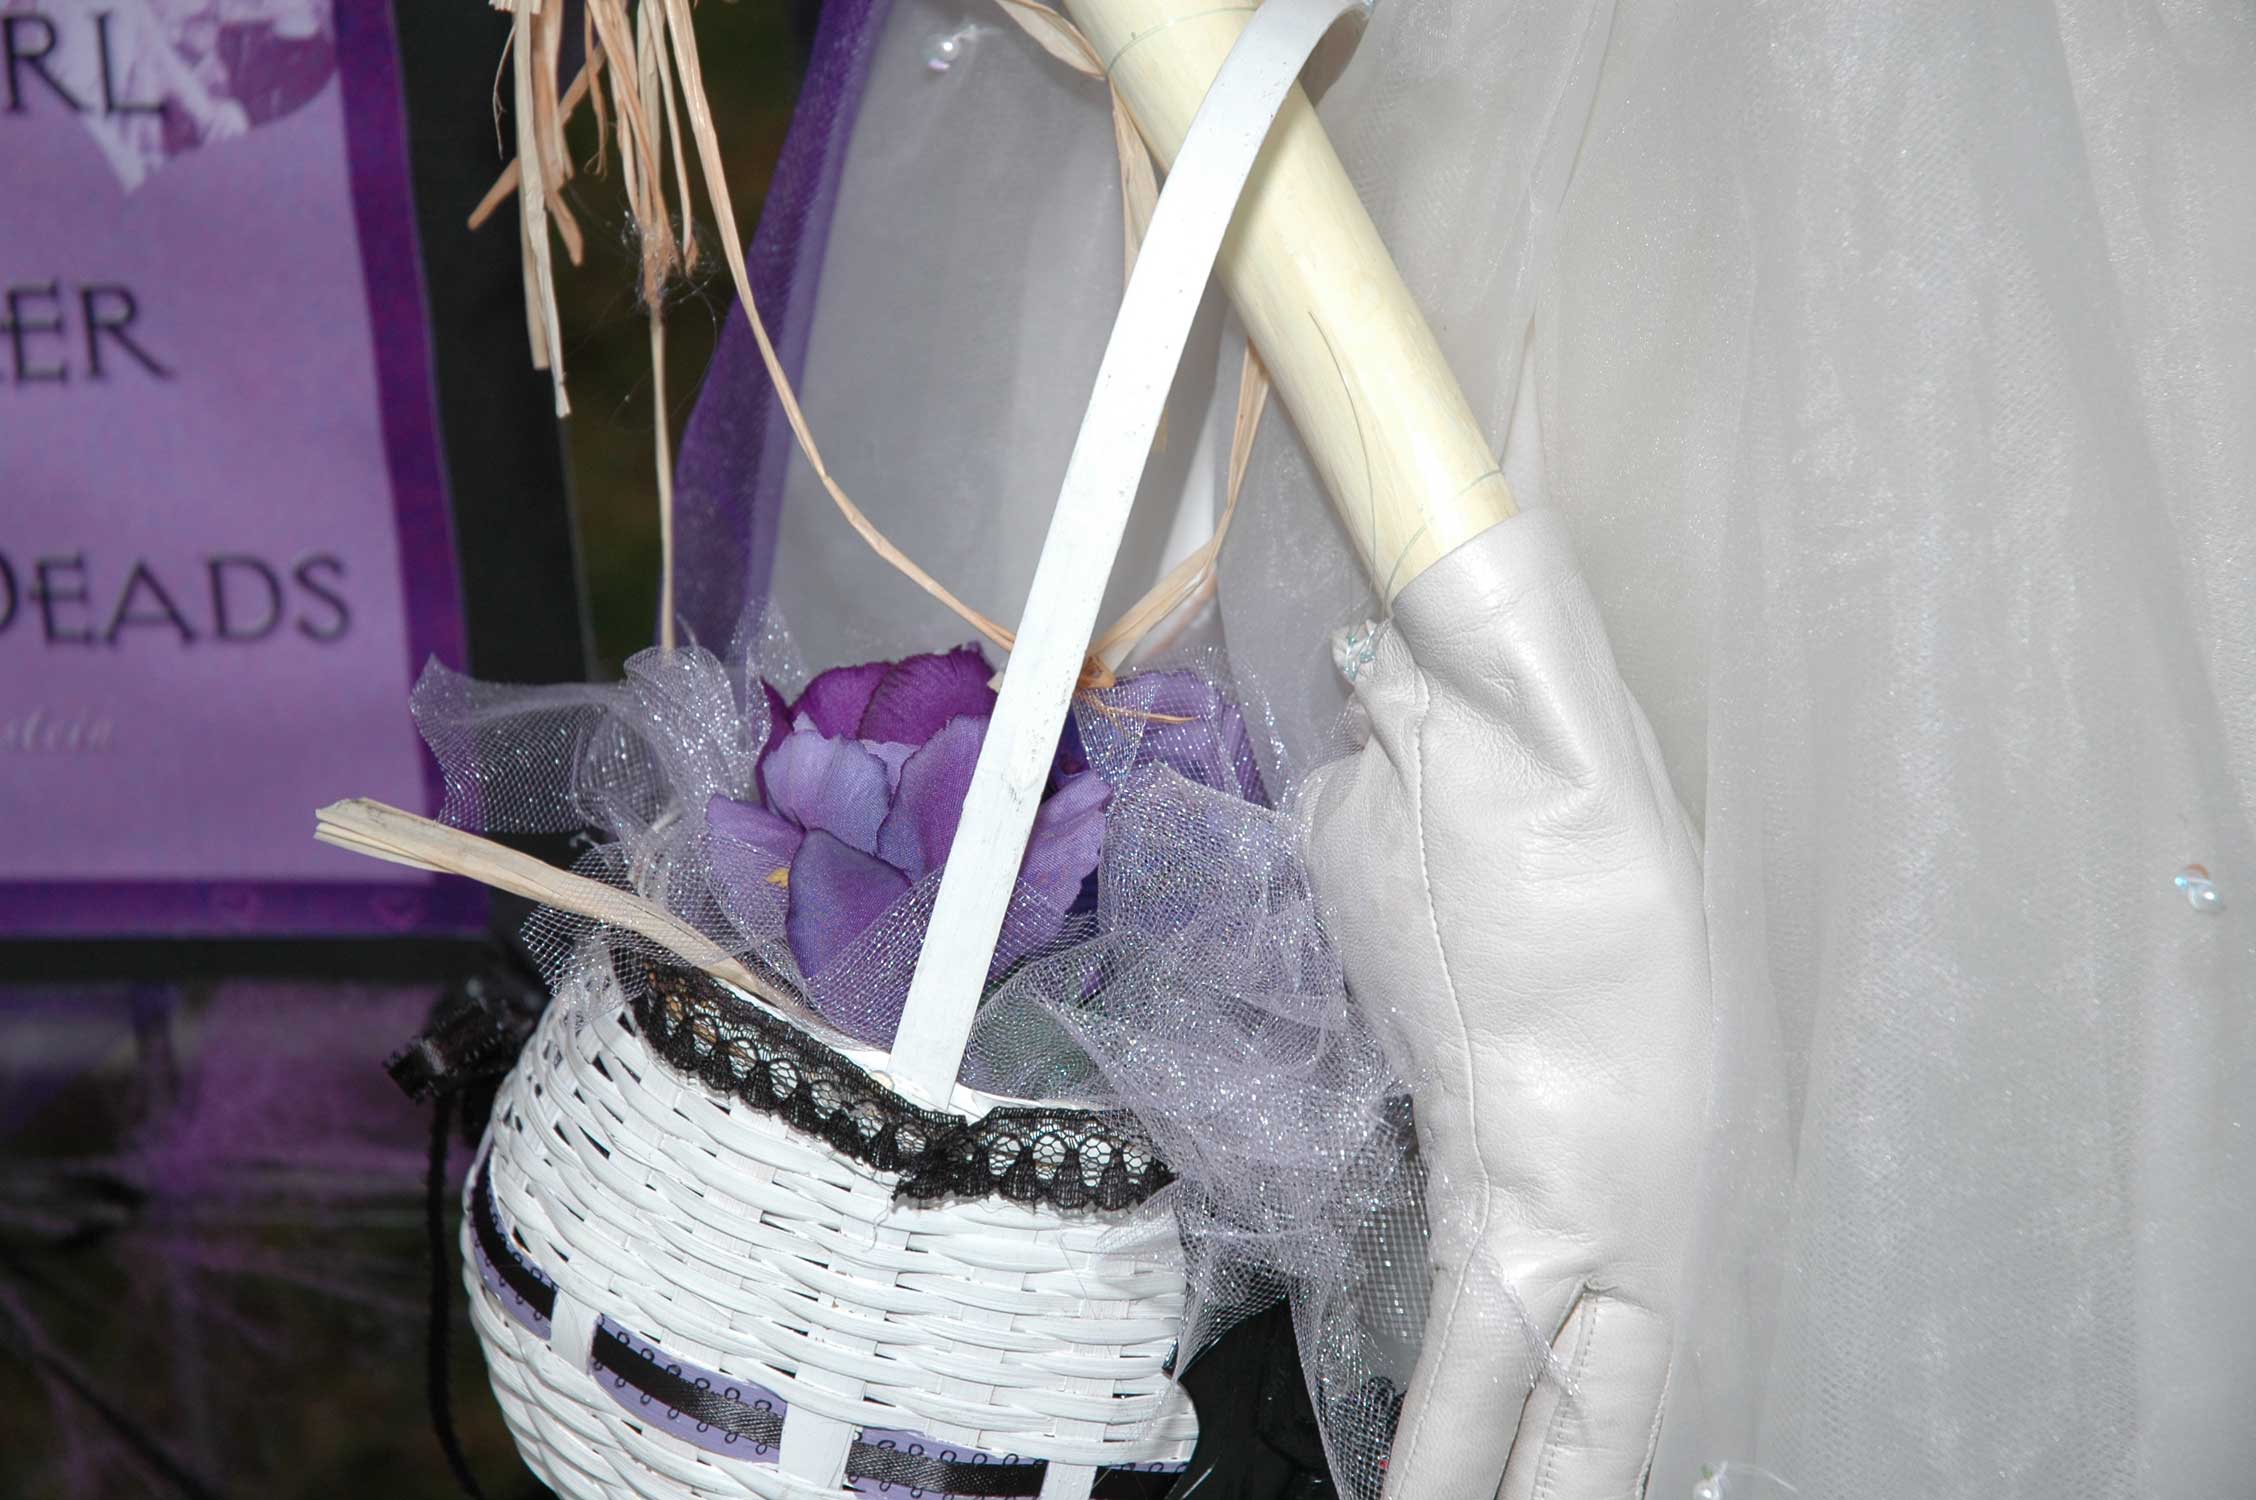
Add detail: Look for hats, gloves, scarves, purses, suspenders, jewelery and other accessories that complete the outfit. The details are what gives the scarecrow the WOW factor. Our flower girl has real leather gloves, a hat trimmed in black lace, and a flower basket adorned with a bat. Our ring bearer has suspenders, a cummerbund and a custom-made pillow.

Our flower girl wears gloves and carries a basket of purple flowers.
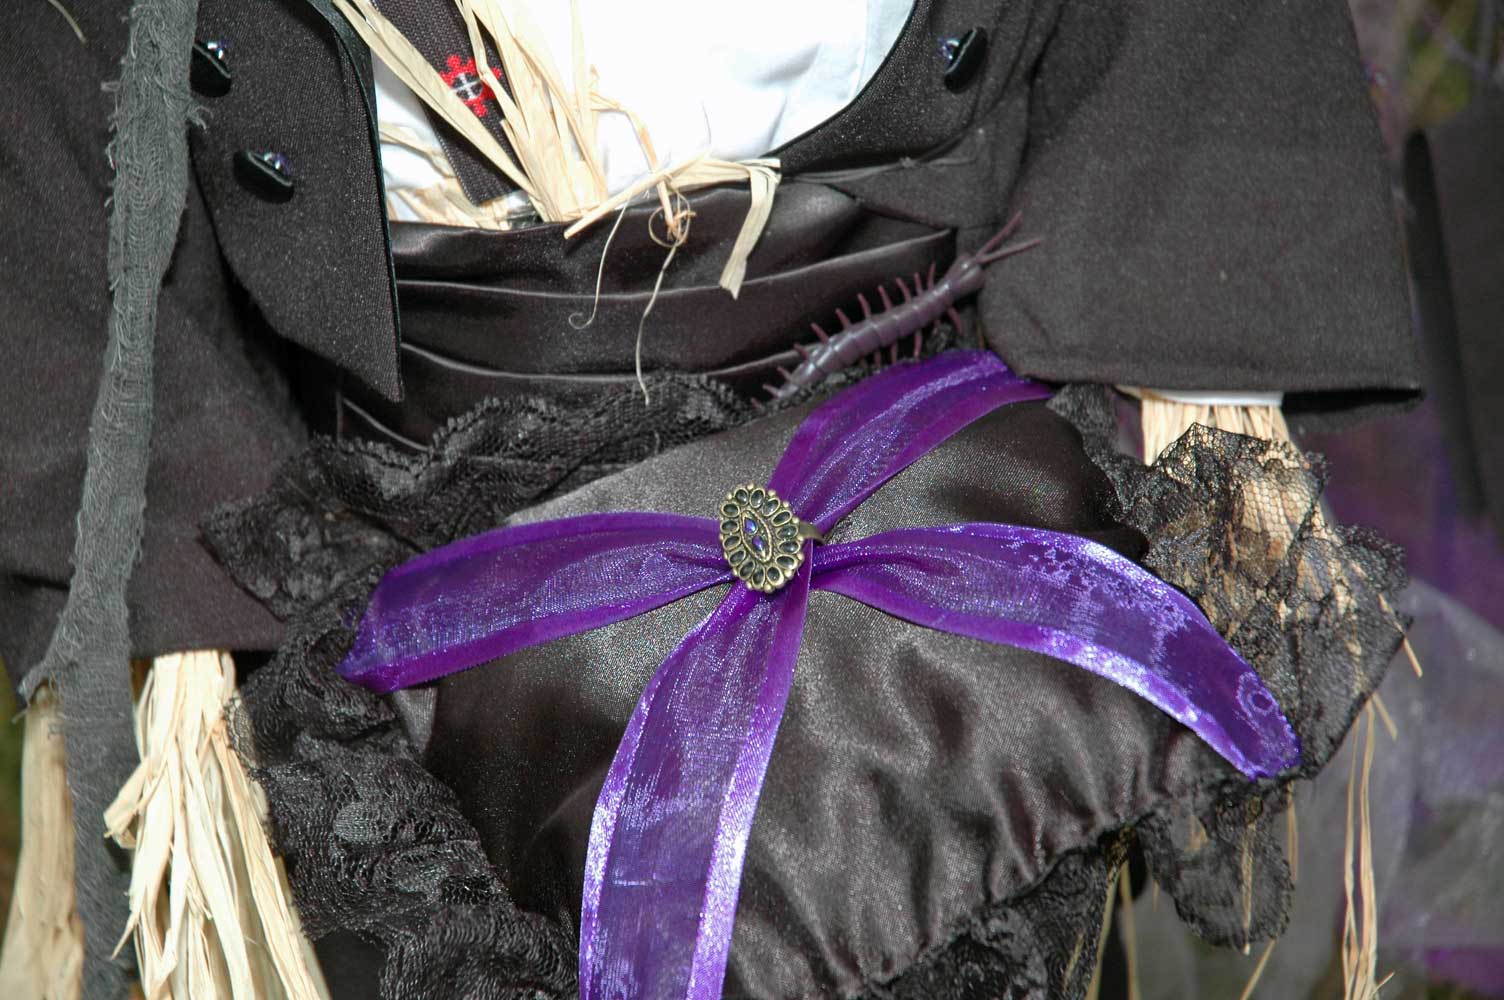
Our ring bearer carries a black satin pillow trimmed in black lace. The ring is attached with purple ribbon.

Add Scary: Pick up some creepy bugs and spiders at the dollar store. Use a glue gun or a needle and thread to attach them to the clothes and accessories. My flower girl, for example, has bugs spiders and little rats crawling all over her dress and hat. The boy has lots of spiders.

The wedding trellis is topped by a gorgeous bat.

Build the Scene: These scarecrows are cool, but they might not win a prize on their own. You need few props to set the scene. I used a garden trellis decorated with black and purple netting, purple spider webs, and black flowers to give the feel of a wedding alter.

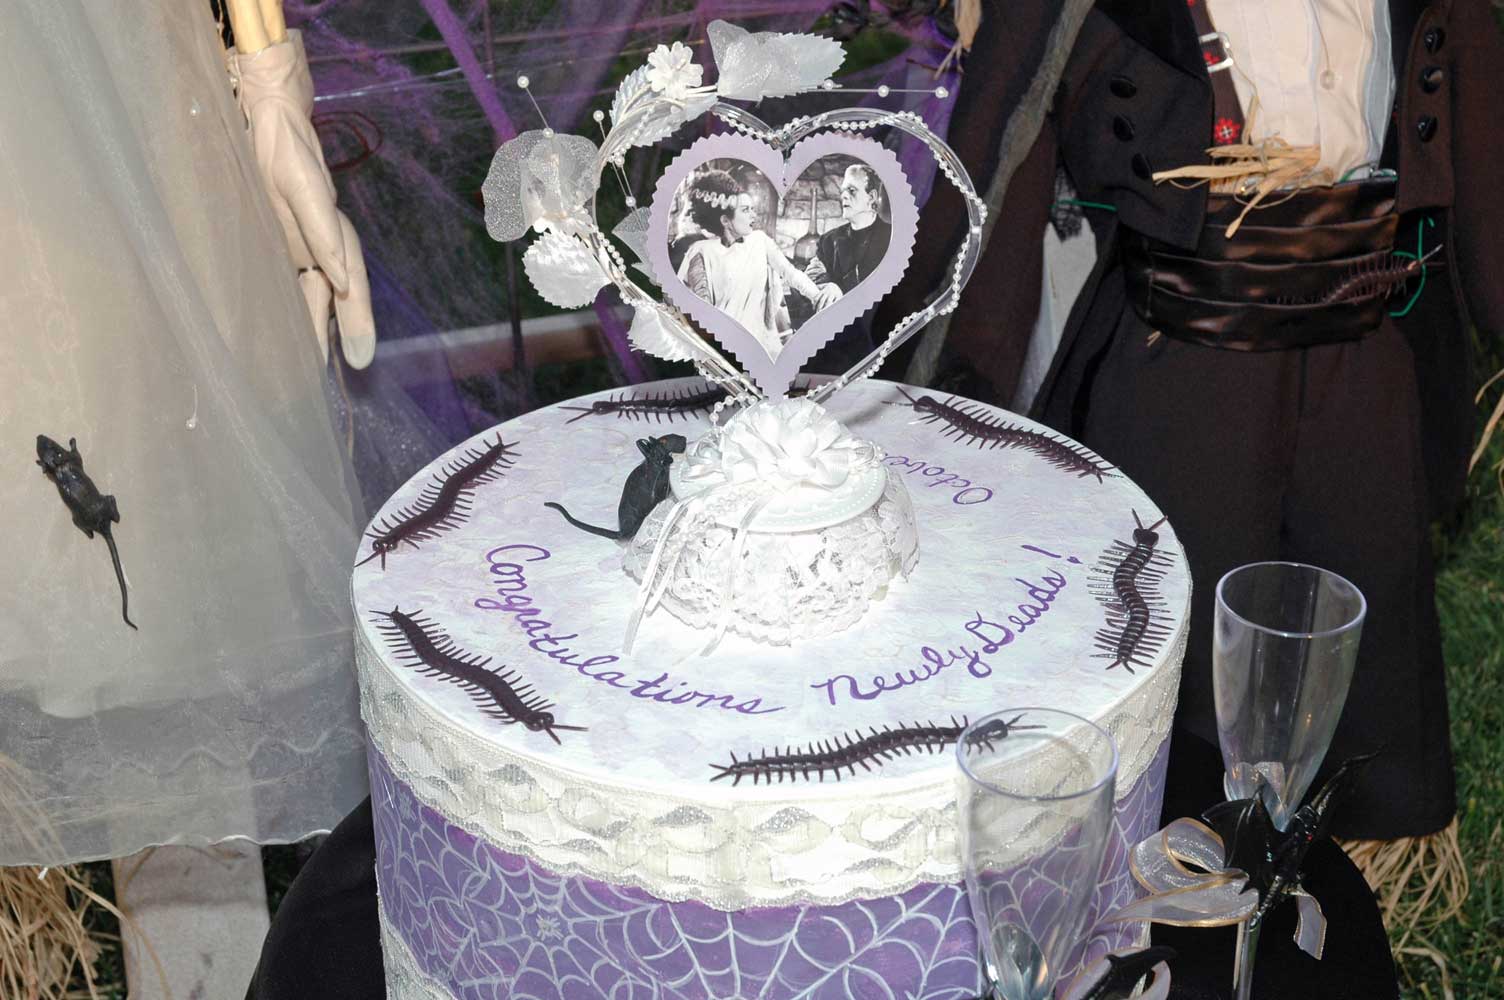
Yummy enough to eat! Frakenstein's custom cake.
Yummy enough to eat! Click to view larger.
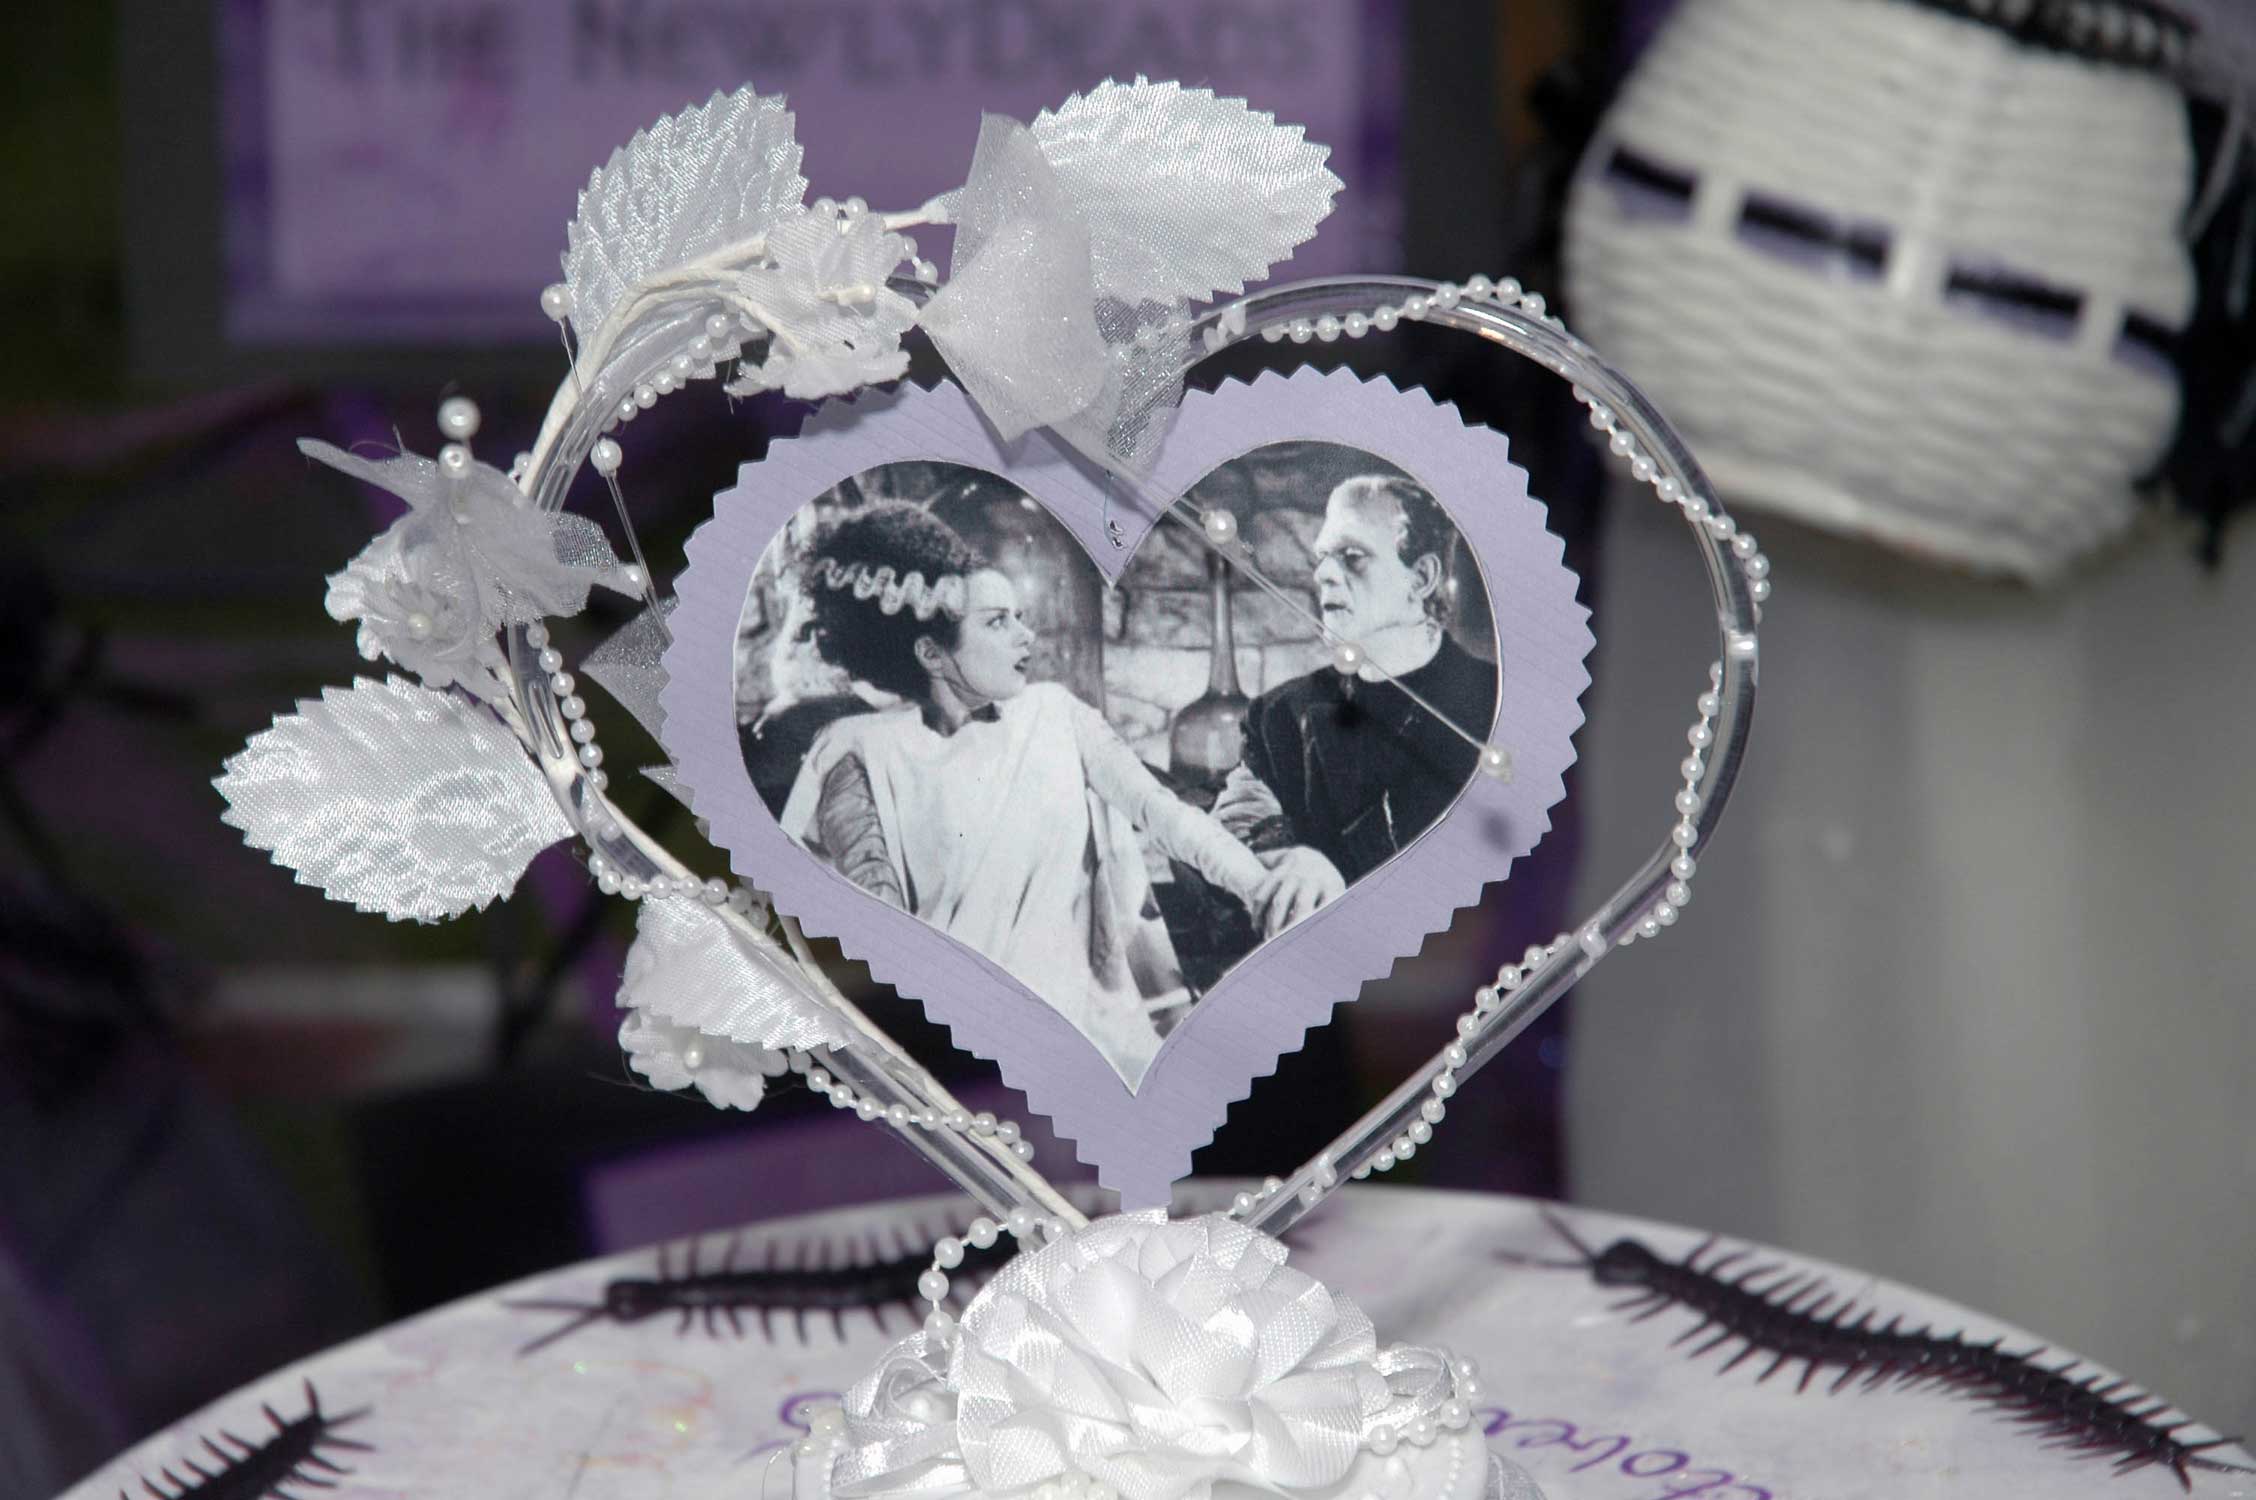
I added the photo of Frakenstein and his bride to a cake topper from a dollar store.

I threw some black material over a small table so we could add a cake and champagne glasses.  The cake is a hat box beautifully painted by my sister.  I got a cheap cake topper and added the heart of Frankenstein and his bride. I used a glue gun to add bats to some plastic wine glasses.

A large spider serves as boutonniere for the ring bearer.
A white hat is trimmed in black lace and spiders on the flower girl.
The back of the scarecrow scene.
I added a couple crows and a skeleton hanging out on the back of the saw horse as a little joke.
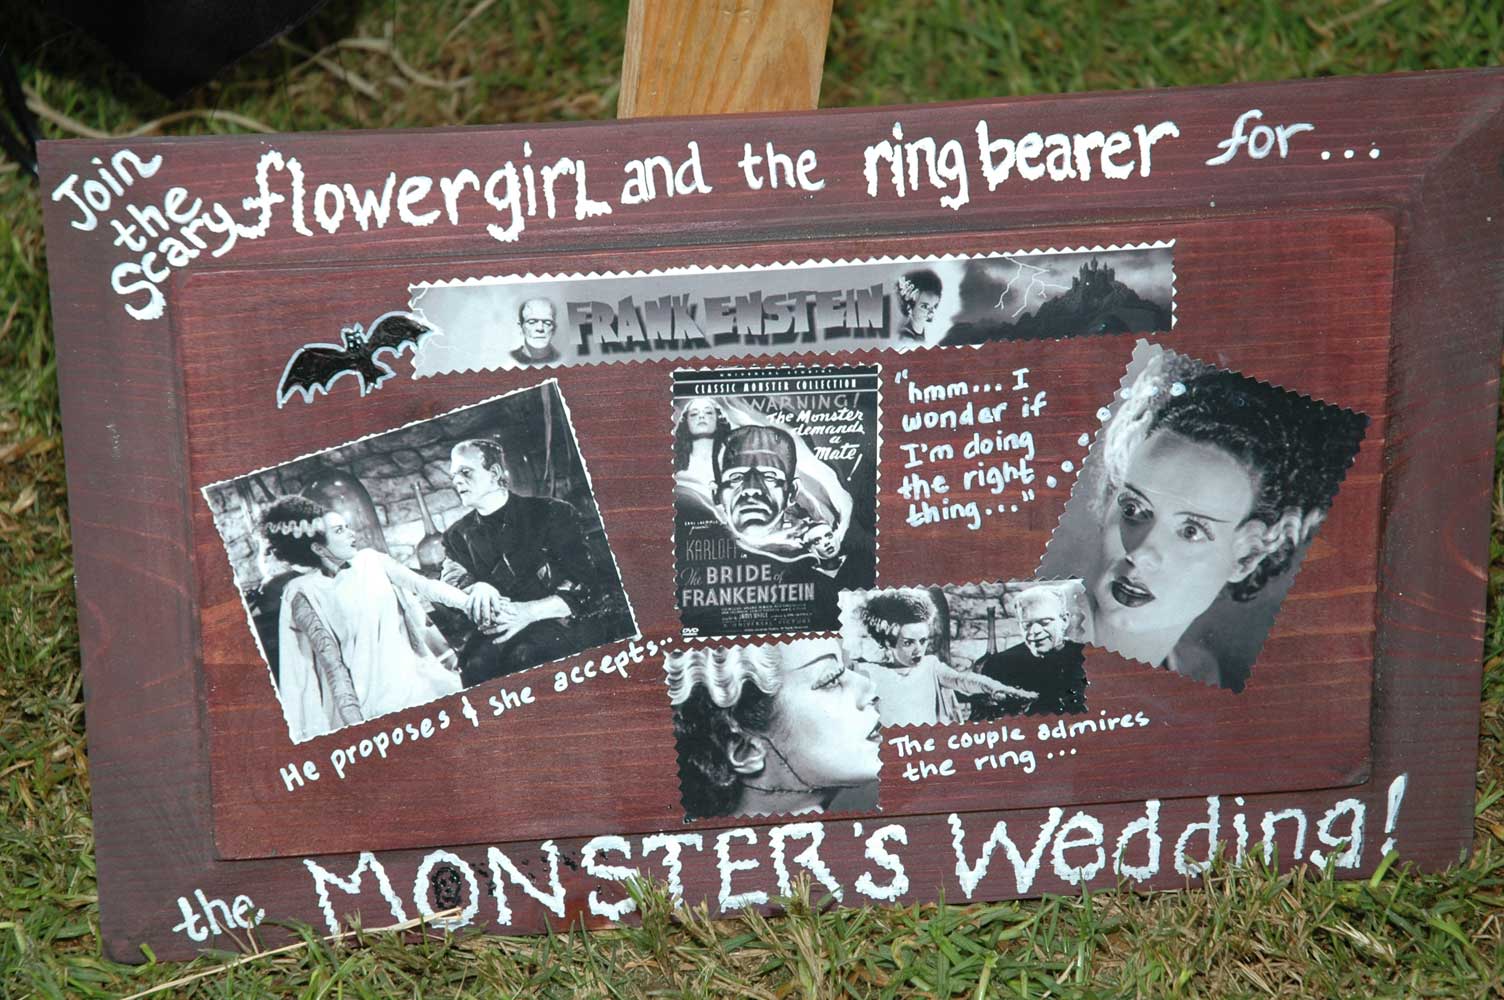
We added a sign explaining the scene.
The artists with their winning scarecrow design

Let me know if you like my scarecrows. We won a couple other years as well with other designs. I’ll try to post those soon. Happy Halloween!

View my squidoo lens on making scarecrows.

I love these black crows from Amazon.

Find great papercraft ideas for Halloween in this book.

Amazon’s Halloween store has tons of great ideas for Halloween!

Other craft posts:
How to Make a Yoga Mat Tote Bag
How to Make a Tassel
How to Make Bookmarks from a Photo
How to Make Designer Baby Burp Cloths Using Ribbon

How to Make a Tassel

Making Tassels for Your Bookmark

Tassels can be made from all sorts of materials: ribbon, floss, yarn, etc. You can pick these up at a fabric or craft stores or even at dollar stores.  You can also find a wide variety of online sources.

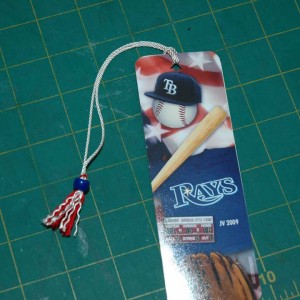
I am going to show you how I made the tassel I used on some bookmarks I made for my son’s Little League Team party.

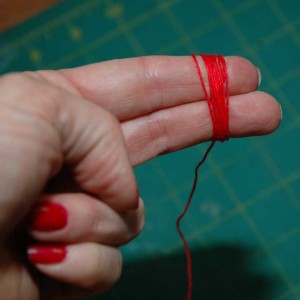
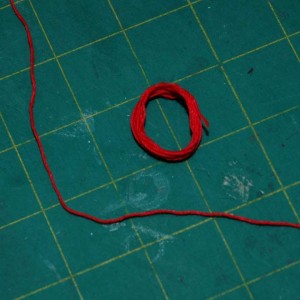
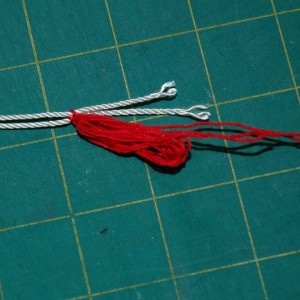
For this example I am using some embroidery and crochet materials I had around the house. The first step is to wrap the thread about a dozen times around two fingers. Trim and remove.

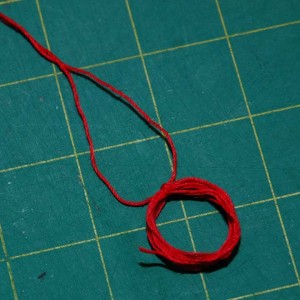
Next cut about 6 inches of thred and tie it around your looped circle.

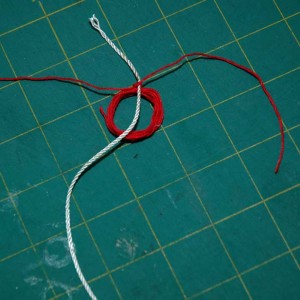
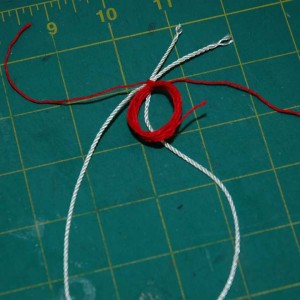
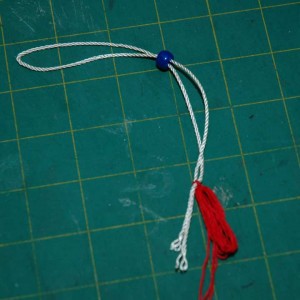
Next you will measure and cut the thread that attaches the tassel.  Measure off about 12 inches and place it as shown in the pictures below. Tie it with the ends of the thread you used to tie the tassel.

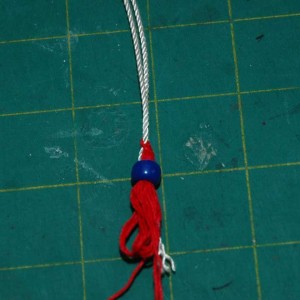
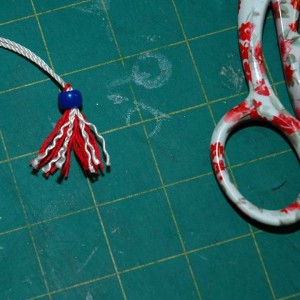
One way to finish off the tassel is to add a bead. You need one with a wide opening.  I used inexpensive plastic pony beads fore this project, but you could use fancier ones. Just slip it over the end of the loop and position over the top of the tassel. You may want to secure it with a drop of craft glue.

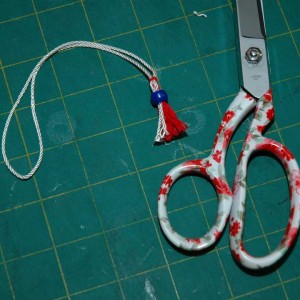
Next trim the end of the tassel and arrange the threads the way you like.  On this bookmark tassel, I unwinded the individual thread in my crochet yarn.

My daughter and I make many varieties of tassels, and I hope to show more soon.  Tassels can be used on bookmarks and lots of other craft projects.  Let me know if this easy tutorial helped you with your projects.

Related post:  How to Make Bookmarks From a Photo

Other craft posts:
How to Make a Prize-Winning Scarecrow

How to Make Designer Baby Burp Cloths Using Ribbon

How to Make a Yoga Mat Tote Bag

How to Make Bookmarks From a Photo

Here’s how to make deluxe bookmarks that look like they came from a upscale bookstore. Personalized bookmarks make a small extravagance perfect for a gift or party favor.

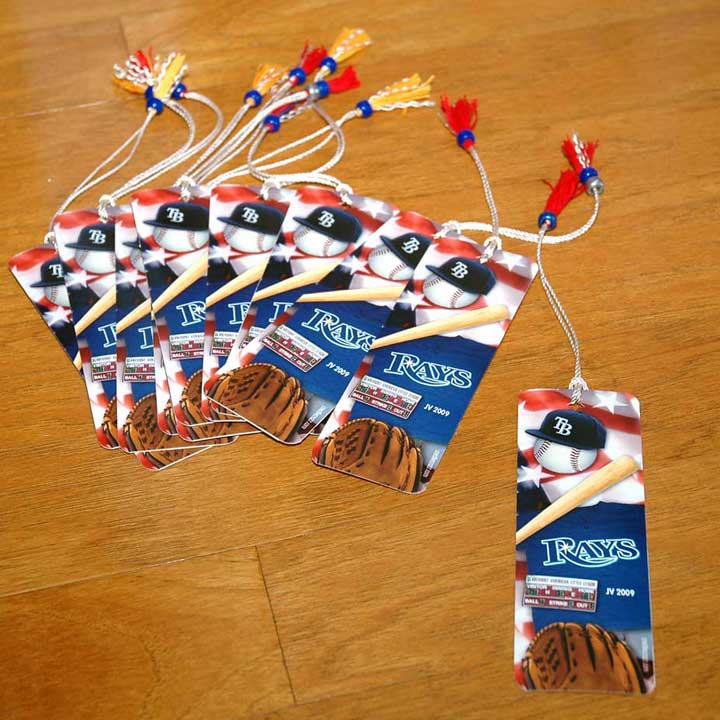
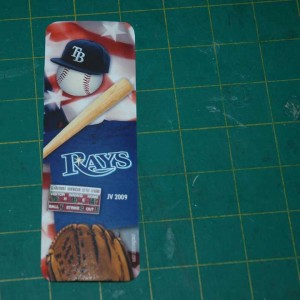
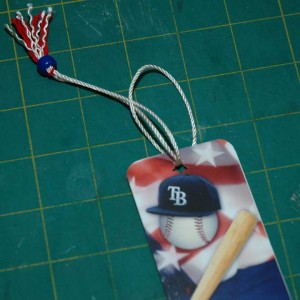
I made these baseball bookmarks to give out to the members of my son’s Little League Team at the end-of-season party.  If you bought these at a bookstore or gift shop they would run $3 to $4 a piece. They take a little time to make, but the cost breaks down to less than 50 cents each in supplies.

Step One:  Make the Art

Using photo imaging software (I use Photoshop) create your artwork to fit a 2″ x 6″ area.

These are printable bookmarks. You can print them yourself if you have a good printer. Or you can have them printed at a photo place. Remember that when you get photos printed, the edges often get trimmed a bit.  So do not include any vital art in the edge border.

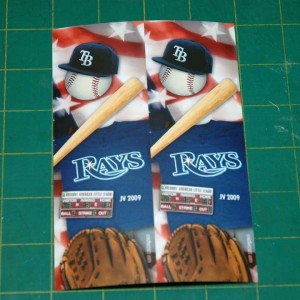
Open a new file that is 4 x 6.  Duplicate your artwork and position 2 copies inside the new file so that you print two bookmarks on one 4 x 6 photo.

Have your photo printed on lustre finish (not glossy). Lustre is more durable and does not show fingerprints.

bookmark printed two-up on standard 4 x 6 photo

Step Two: Back and Trim the Bookmark

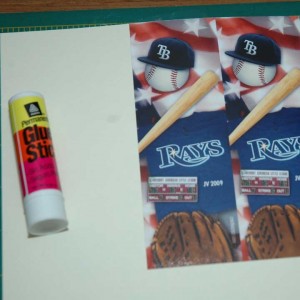
Once your photo is printed, you will want to back it with acid-free cardstock.  You can buy cardstock in 8.5″ x 11″or  scrapbook paper works as well.  Plain or a pattern will work. You can get paper at craft stores or online.

Back the bookmark with acid-free paper. USe an acid-free gluestick.
Back the bookmark with acid-free paper. Use an acid-free gluestick to glue it to the paper.

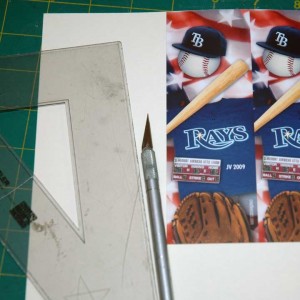
Carefully glue down the photos. If you do happen to get glue on the front of the photo, use rubbing alcohol to wipe it off. Next use an Exacto knife and straight edge to trim.

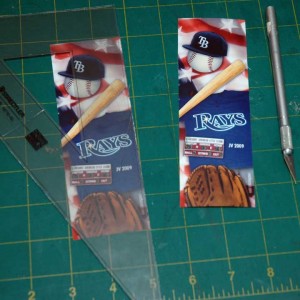
Use an Exacto knife and straight edge to trim.

Separate the two bookmarks

Separate using Exacto.

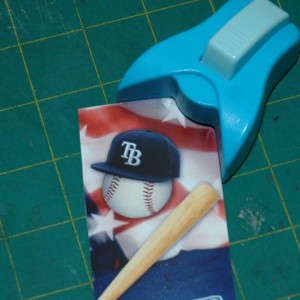
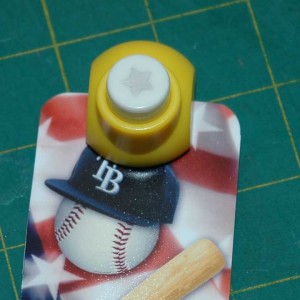
Bookmarks with rounded corners look more professional.  Luckily it is easy to make them with a handy corner punch you can pick up for a few dollars at a craft store or online.

Use a corner punch to round the corners.
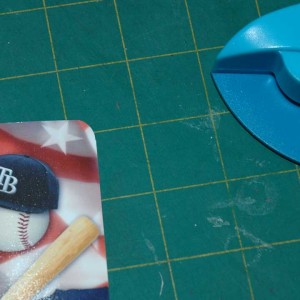
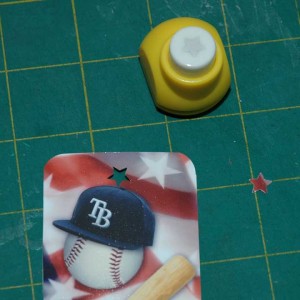
Corner rounded.
Corner rounded.

Step Three: Attach a Tassel

Use a hole punch to make a hole in the top. You can use a standard hole punch, or use a simple shape.  I used a star punch for this bookmark.

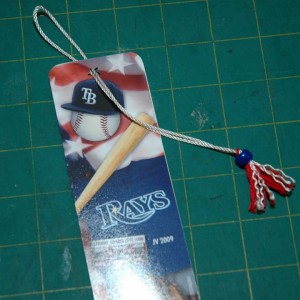
To attach a tassel, loop it through the hole as shown in the following photos. You can use store-bought tassels or make your own

Put loop through the hole.
Insert end of tassel through the loop.
Pull tassel tight.
Pull tassel tight.

Et voila! You now know how to make a bookmark that looks like you got it in a bookstore. My daughter and I make these and sell them at craft fairs.  We also give them as gifts.  I like to add them to a present in place of a gift card.

Now that you know an easy way to make bookmarks, get inspired by checking out some of my other bookmark designs. If you are a scrapbooker, you can probably find lots of paper, stamps, and punches to come up with interesting bookmark designs.

I’d love to hear your ideas about custom bookmark designs. I think they would make a creative party favor for a wedding, Bar Mitzvah or birthday party.

Related post: How to make a Tassel

Vintage Ad Site

Cool site with Vintage Ads on It

Ya gotta love vintage ads for cool design and insight into the history of our culture.  A web site that has a bunch of old ads all scanned in and organized by topic, date keyword, etc.  Ads are from 1930 and 1969. Tons of them!

The index is amazing.

Also a random image link.

Get inspired by these ads.  But be aware that many of them may still be under copyright, so don’t use them for commercial purposes.

How to Make a Birthday Card That’s a Mobile

Mobile Greeting Card Craft

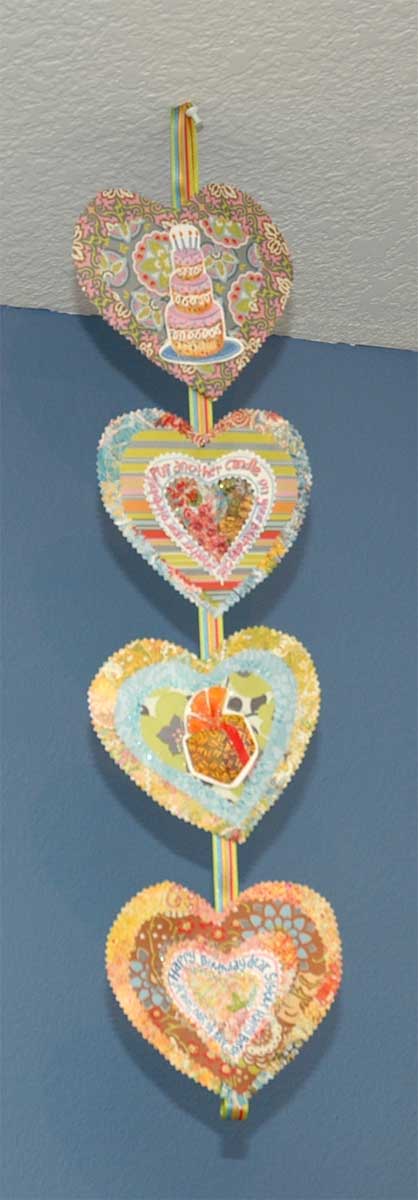
front of birthday card as it hangs

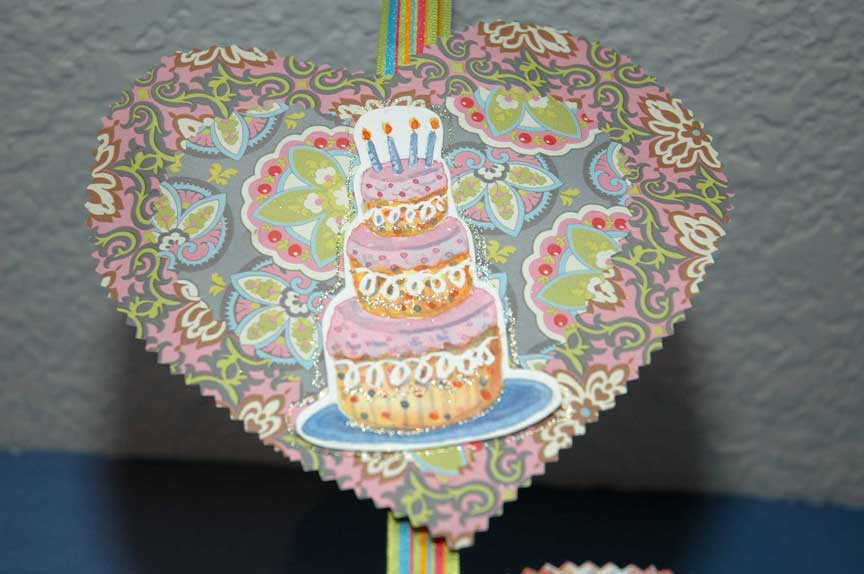
My sister made me this beautiful card for my birthday. I loved it so much I started making similar cards.

All you need to do is cut out some shapes out of scrapbook paper. She used hearts but you can so any shape you like. My daughter made a cute one with just rectangles.

You can use special scissors to make interesting edges.

Make several sizes of the shape and layer it.

If you are artistic like my sister, you can paint little images, like she did, (see the gallery for photos) and glue them on top.

My daughter made some images on the computer and printed them out. You could even cut images out of old cards or magazines.

Next find some pretty ribbon and attach.

Make another set of shapes the same size and glue these on the back.  That way both sides of the card are pretty when it hangs. My sister made the back different so that each heart is unique (see pic below).

You can personalize the card by writing saying on some of the shapes.

Special scrapbook glitter on my mobile makes it sparkle every time I walk by it. You could also try scrapbook embellishments. See links below if you need to buy.

The great thing about this card it that it can fold up into an envelope easy.

But when the recipient opens the card, the card turns out to be a small gift.

This little mobile looks great hanging up almost anywhere.  Much better than store-bought cards that are usually just discarded. I show my birthday card here, but you can make these for Mother’s Day, weddings, thank you cards etc. Any time you want to make a really personal card that can be treasured.

View all the artwork for this card in my gallery. Click on images to view them larger. You may use the images for personal use only under the creative commons license.

Thanks for looking and please let me know if you like this clever idea.

back of card

Related posts:
free birthday card art
how to make a poster in the Obama style

Frankensteinflowel25web
prize winning scarecrows

How to Make a Prize Winning Scarecrow

Let me know what you think by commenting below. Show your support by “digging” this post. Just click the digg button above.

Related post: how to make a tassel

Birthday Card Art—Free!

Free Birthday Card Art

Spice up your homemade birthday cards with free photos and illustrations. New images coming soon! Click on an image to get a larger version. Images are free to use for personal use only under the creative commons license.  Let me know if like these images, and give me suggestions for more.

Ginger, the labradoodle puppy, is ready to party.

See my post on how to make a card that is a mobile. Close-up photos of the mobile art are in my gallery.

How to Make Designer Baby Burp Cloths Using Ribbon

[ad#Google Adsense-3leaderboard]

Easy Custom-Made Baby Gift

New moms really treasure handmade baby gifts. Here’s an easy craft you can do with just cloth diapers, ribbon, and a straight stitch on a sewing machine. These cloths are perfect for throwing on your shoulder when holding baby.

Click on pics to see larger version.

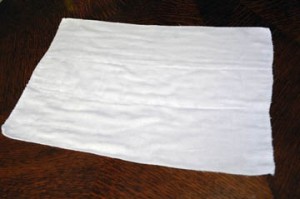
Buy a set of cloth diapers and some ribbon.

Prewash and iron diapers to avoid shrinkage after you put ribbon on.

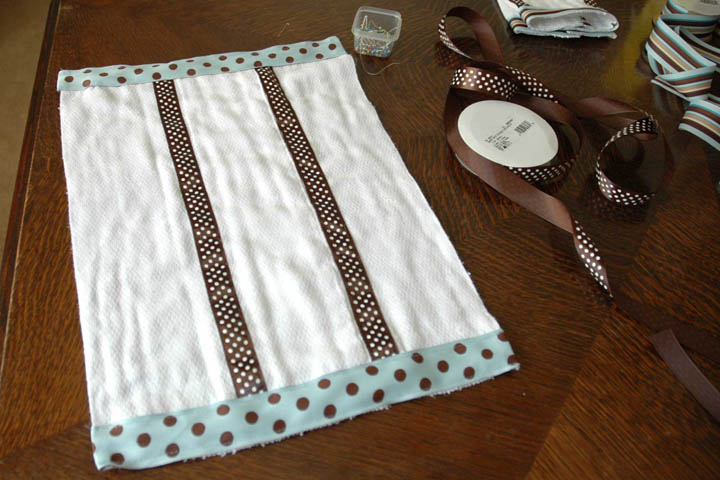
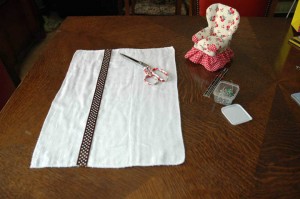
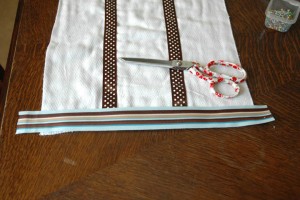
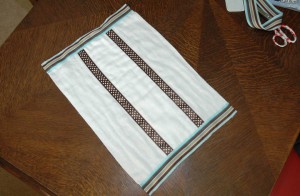
Measure and cut two pieces of ribbon that are the length of the diaper. These will go down the center.

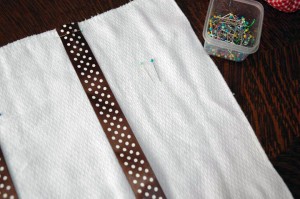
Next pin on the ribbon about a third of the way in from each side.

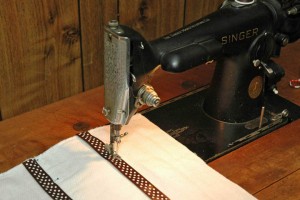
Sew down.

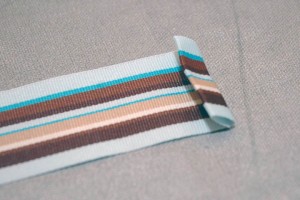
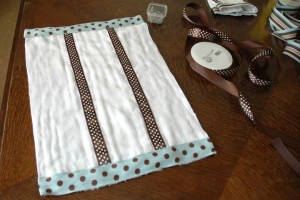
Next cut the ribbon for the bottom.  Make it about an inch longer than the width of the diaper so that you can fold over the ends to prevent fraying.

Use an iron to fold over the ends twice to create a nice edge.

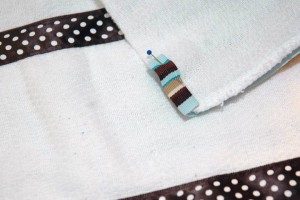
Wrap the folded edge around the back of the diaper, then pin the ribbon on at the edge.

Now pin into place.

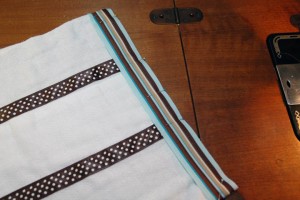
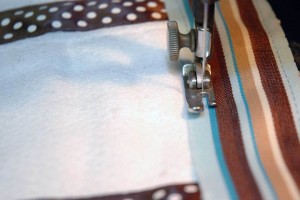
Sew it down along both edges of the ribbon.

Trim off an excess threads, and you are done!

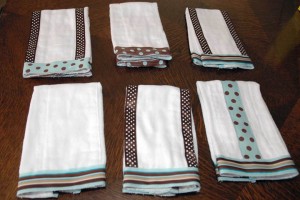
Use coordinating ribbons if you are making a set of baby burp cloths as a gift.

Every time the new mom uses these pretty handmade cloths she will think of how much her friends love and support her . . . the best gift of all for a new mom who may not be getting enough sleep and may be overwhelmed by motherhood. Let me know if you like this idea or if you have other suggestions. Did you know that Amazon has great deals on baby gifts? You can read real customer reviews, which makes shopping easy. And many of them qualify for free shipping.
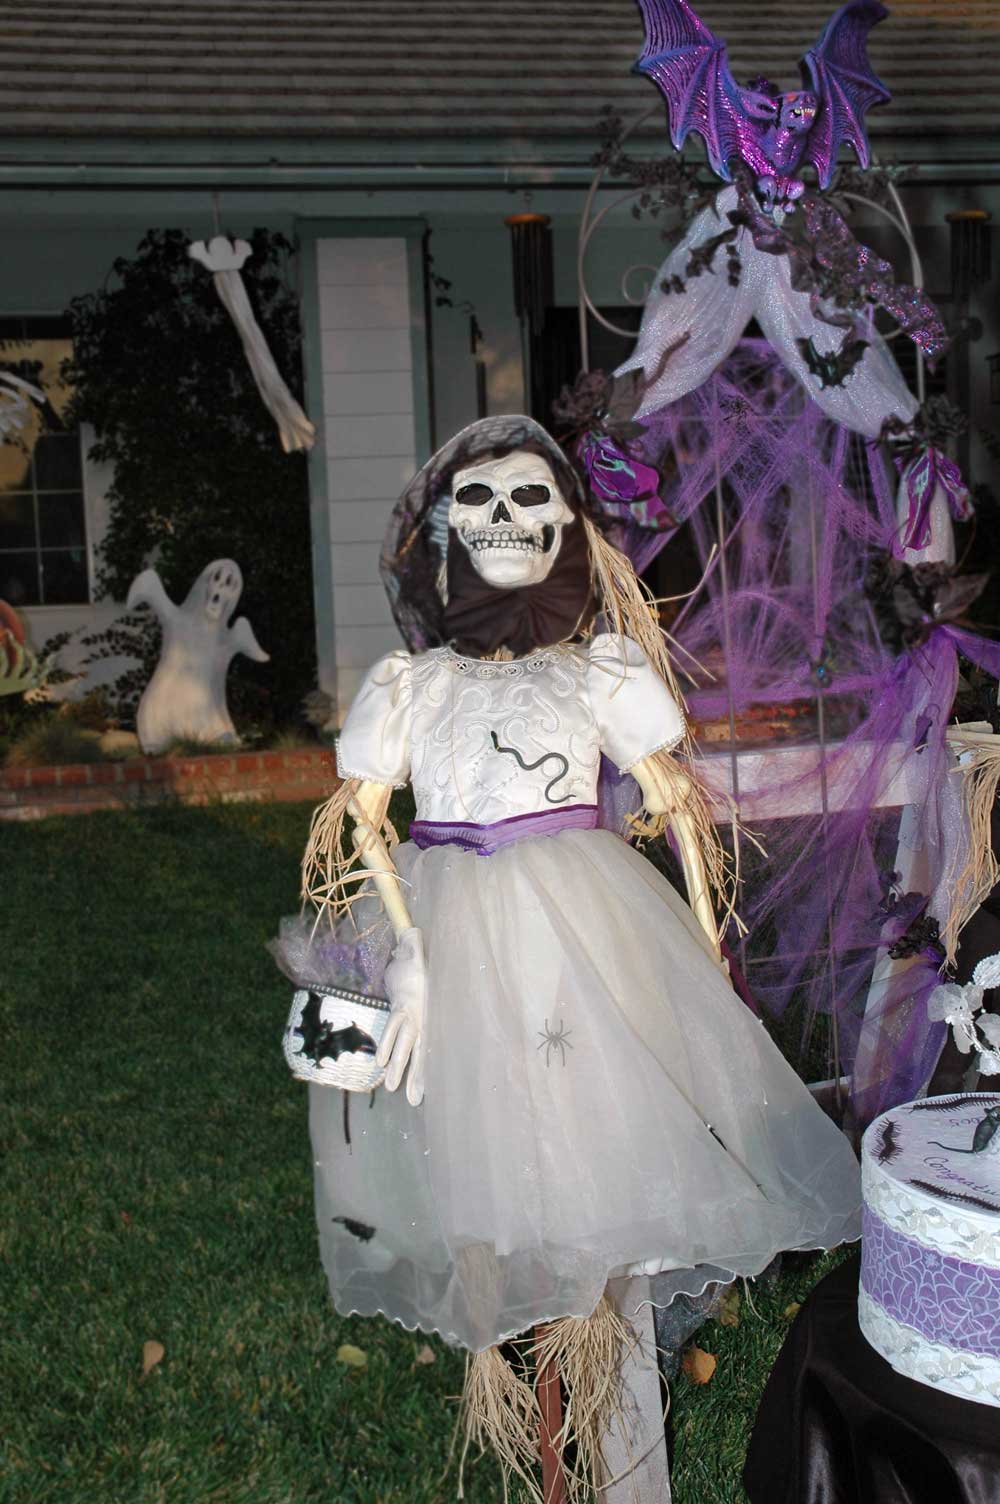
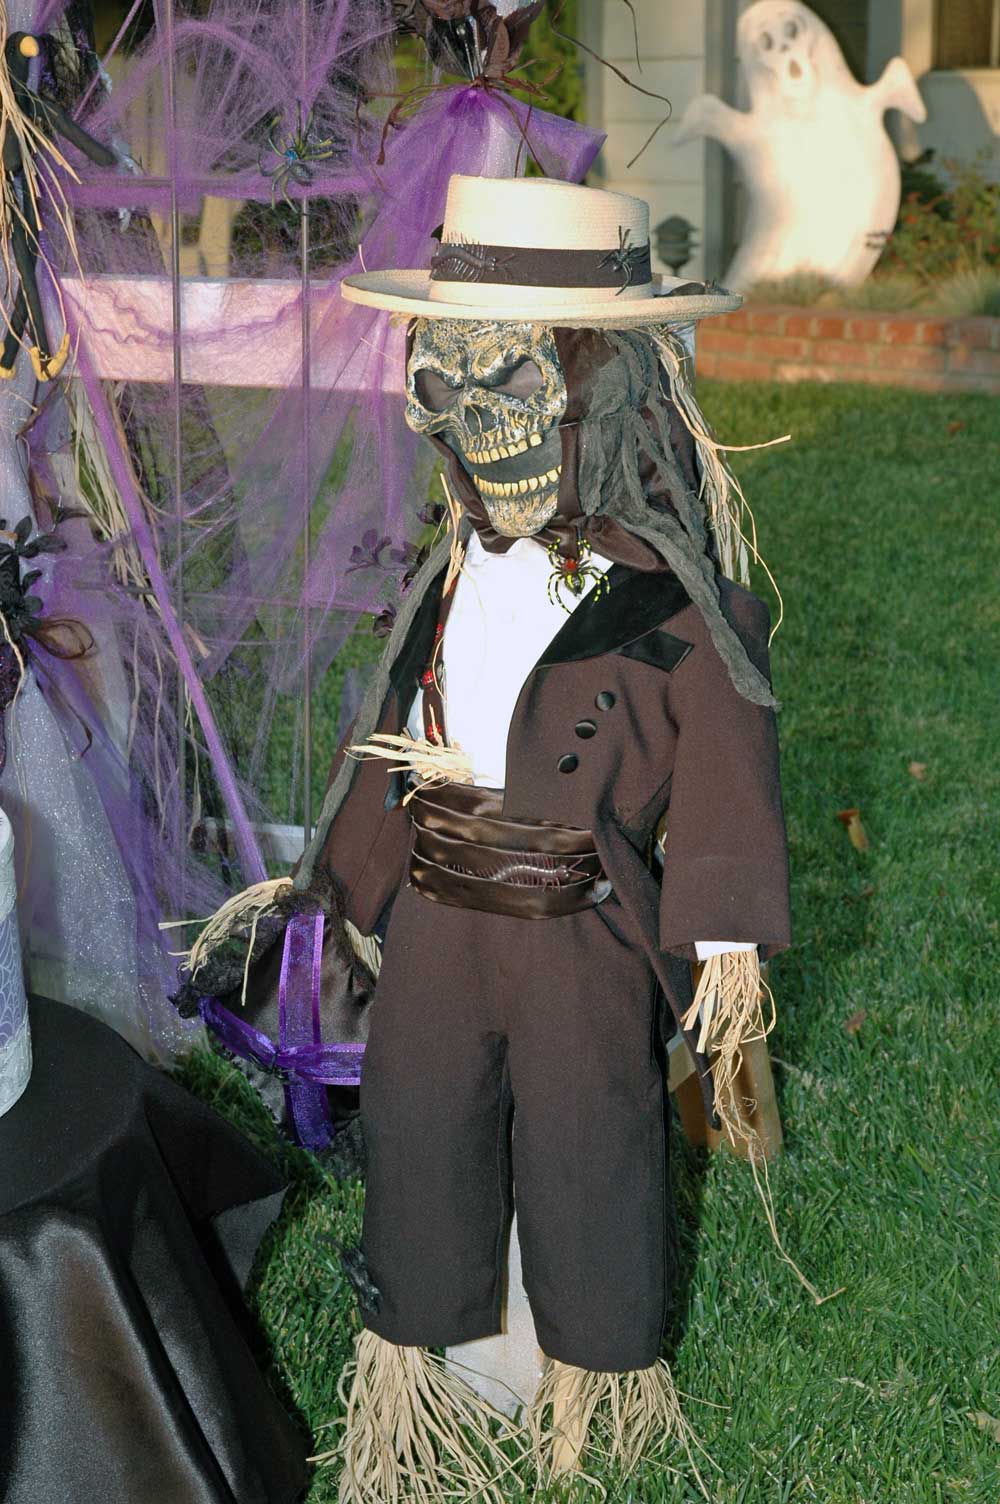
Check out my post on donating umbilical cord blood. I tell about my experience donating cord blood. If you want details on how and why to donate, read my hubpage on umbilical cord donating. I highly recommend donating cord blood. It is a precious fluid that is discarded if not banked for private use or donated.

Donating umbilical cord blood is free, and it may save a life.

Check out my post on how to make bookmarks from a photo. You could make a cute bookmark with baby pics.

Yoga is a great way for a new mom to get in shape and relax. Here’s my post on how to make a yoga mat tote bag.

Creative Halloween Ideas for Halloween Decorating

Bestsellers in Baby at Amazon

[ad#Google Adsense-1]

Figure skating crafts

Two things my daughter and I love: figure skating and crafts. But it’s hard to find craft materials with a an ice skating theme! So I am sharing my links to items that feature figure skates. Hope you find something you like. I will be adding more, so check back. Let me know if you have suggestions.

I also have a post about figure skating gift ideas.

My ehow article on How to Care for Figure Skates to Make Them Last

You can pick up tickets to ice skating events like Stars on Ice; Disney; and even the Olympics and World Figure Skating Championships through Empire.