Here’s how to make deluxe bookmarks that look like they came from a upscale bookstore. Personalized bookmarks make a small extravagance perfect for a gift or party favor.
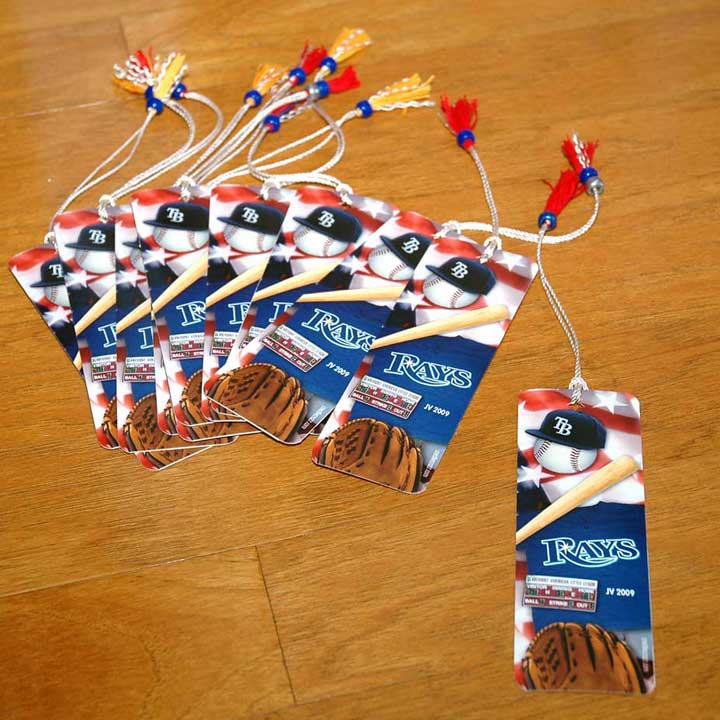
I made these baseball bookmarks to give out to the members of my son’s Little League Team at the end-of-season party. If you bought these at a bookstore or gift shop they would run $3 to $4 a piece. They take a little time to make, but the cost breaks down to less than 50 cents each in supplies.
Step One: Make the Art
Using photo imaging software (I use Photoshop) create your artwork to fit a 2″ x 6″ area.
These are printable bookmarks. You can print them yourself if you have a good printer. Or you can have them printed at a photo place. Remember that when you get photos printed, the edges often get trimmed a bit. So do not include any vital art in the edge border.
Open a new file that is 4 x 6. Duplicate your artwork and position 2 copies inside the new file so that you print two bookmarks on one 4 x 6 photo.
Have your photo printed on lustre finish (not glossy). Lustre is more durable and does not show fingerprints.
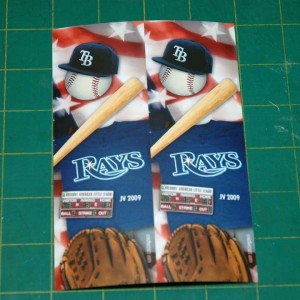
Step Two: Back and Trim the Bookmark
Once your photo is printed, you will want to back it with acid-free cardstock. You can buy cardstock in 8.5″ x 11″or scrapbook paper works as well. Plain or a pattern will work. You can get paper at craft stores or online.
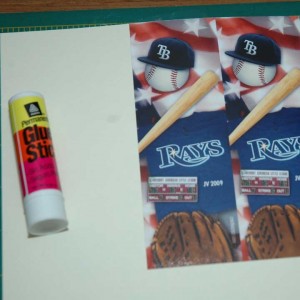
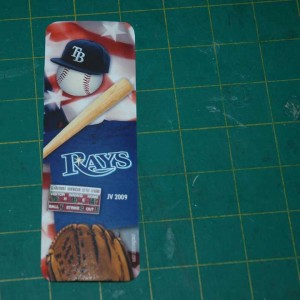
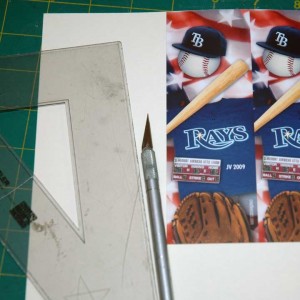
Carefully glue down the photos. If you do happen to get glue on the front of the photo, use rubbing alcohol to wipe it off. Next use an Exacto knife and straight edge to trim.
Separate the two bookmarks
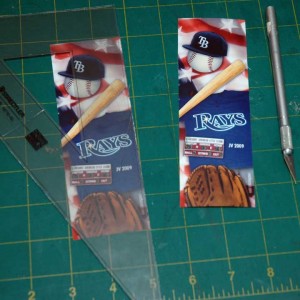
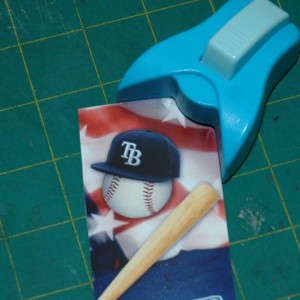
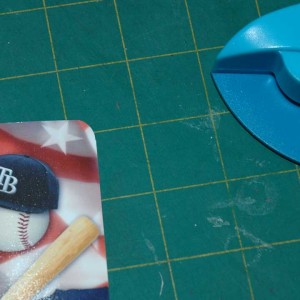
Bookmarks with rounded corners look more professional. Luckily it is easy to make them with a handy corner punch you can pick up for a few dollars at a craft store or online.
Step Three: Attach a Tassel
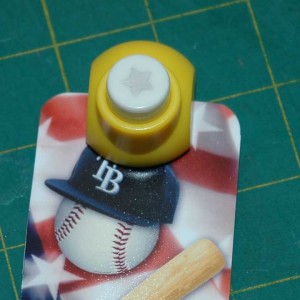
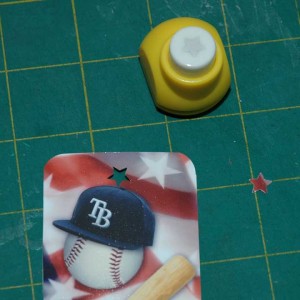
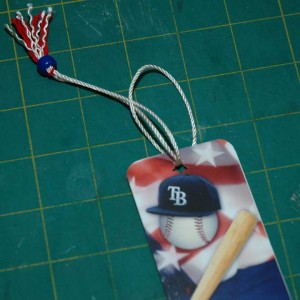
Use a hole punch to make a hole in the top. You can use a standard hole punch, or use a simple shape. I used a star punch for this bookmark.
To attach a tassel, loop it through the hole as shown in the following photos. You can use store-bought tassels or make your own.
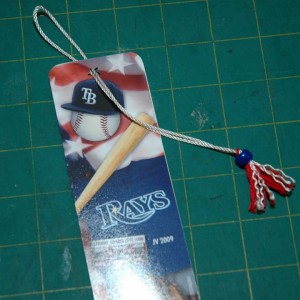
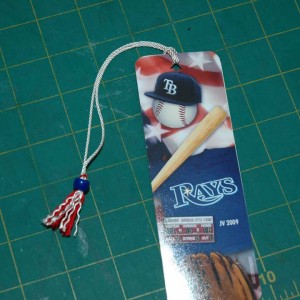
Et voila! You now know how to make a bookmark that looks like you got it in a bookstore. My daughter and I make these and sell them at craft fairs. We also give them as gifts. I like to add them to a present in place of a gift card.
Now that you know an easy way to make bookmarks, get inspired by checking out some of my other bookmark designs. If you are a scrapbooker, you can probably find lots of paper, stamps, and punches to come up with interesting bookmark designs.
I’d love to hear your ideas about custom bookmark designs. I think they would make a creative party favor for a wedding, Bar Mitzvah or birthday party.
Related post: How to make a Tassel
